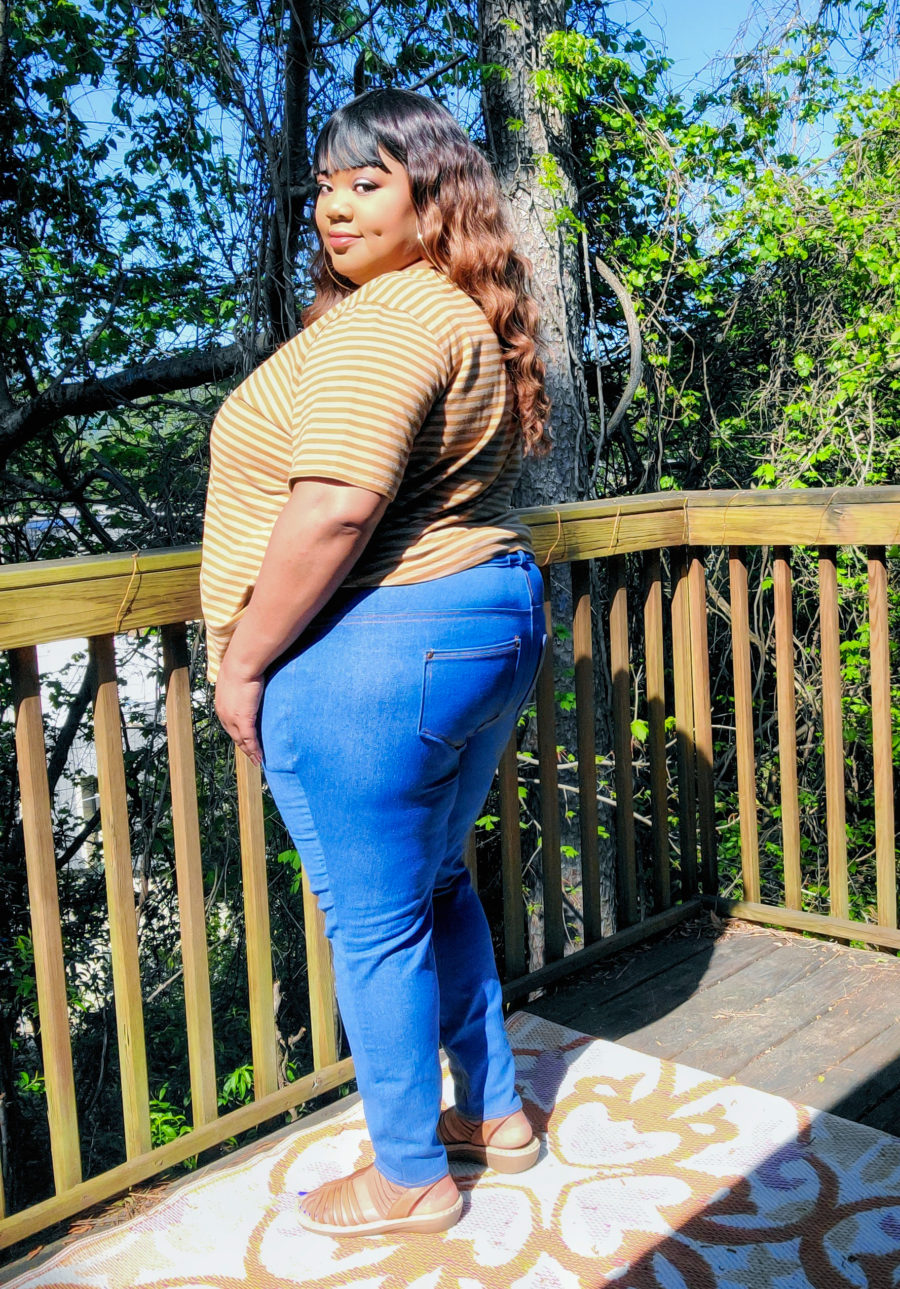
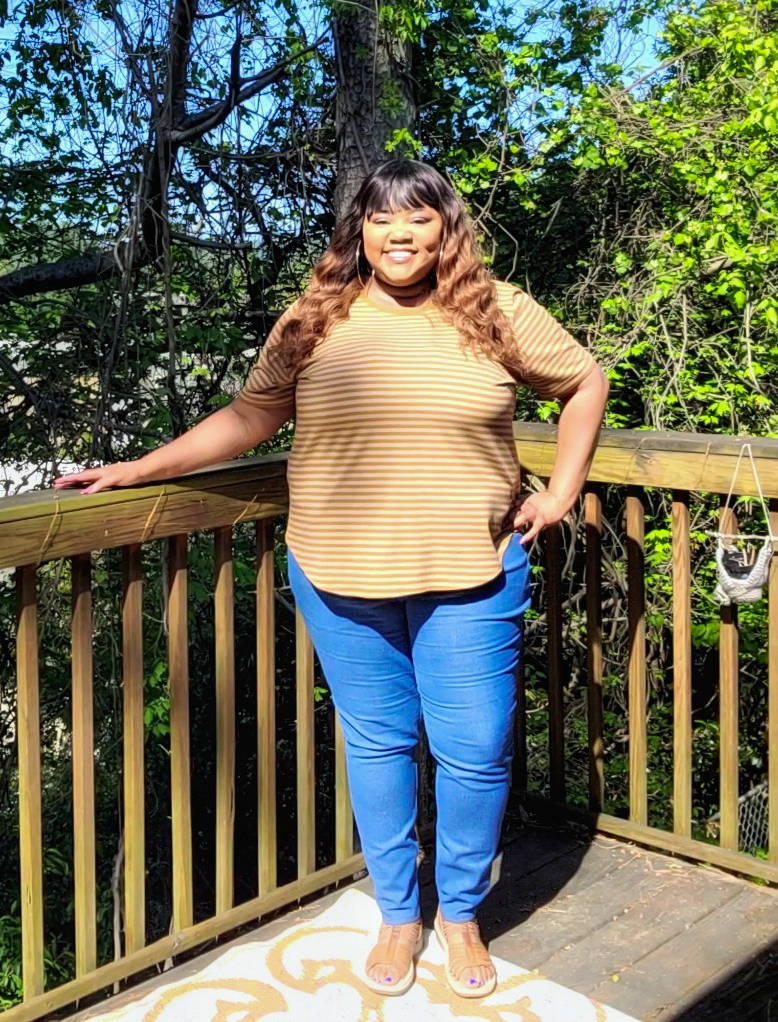
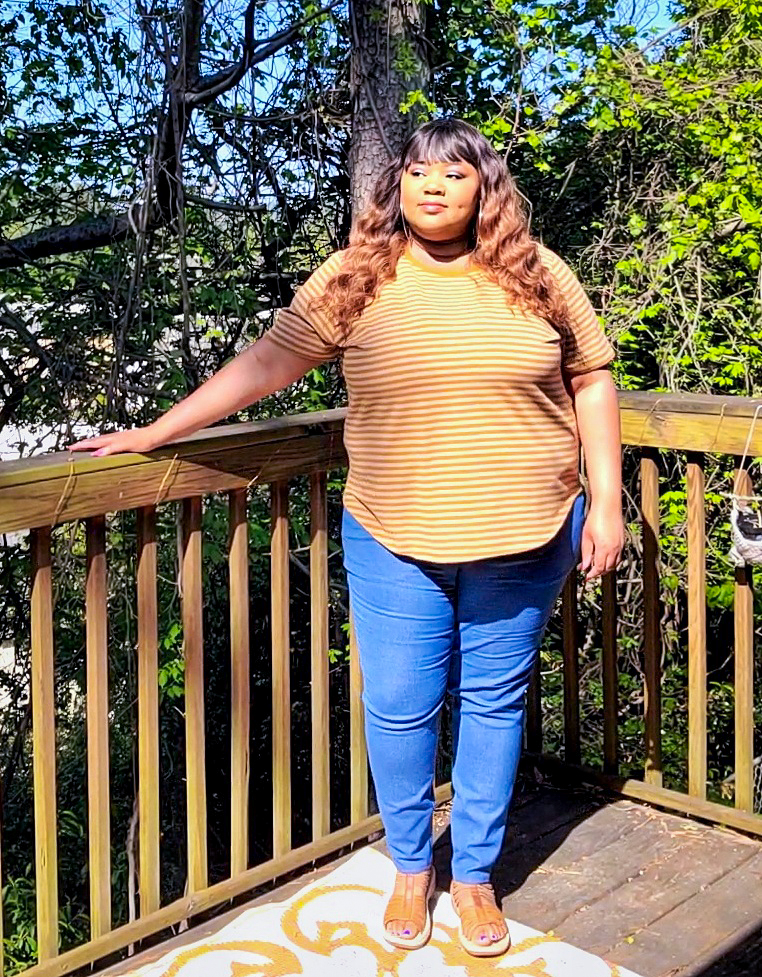
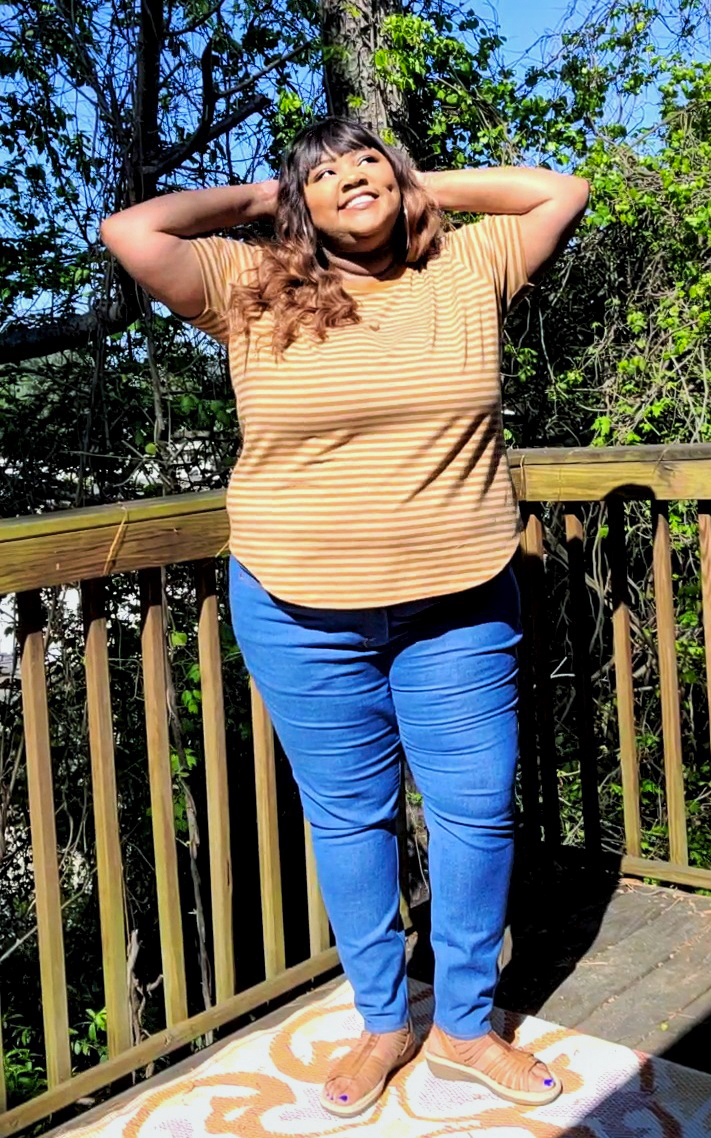
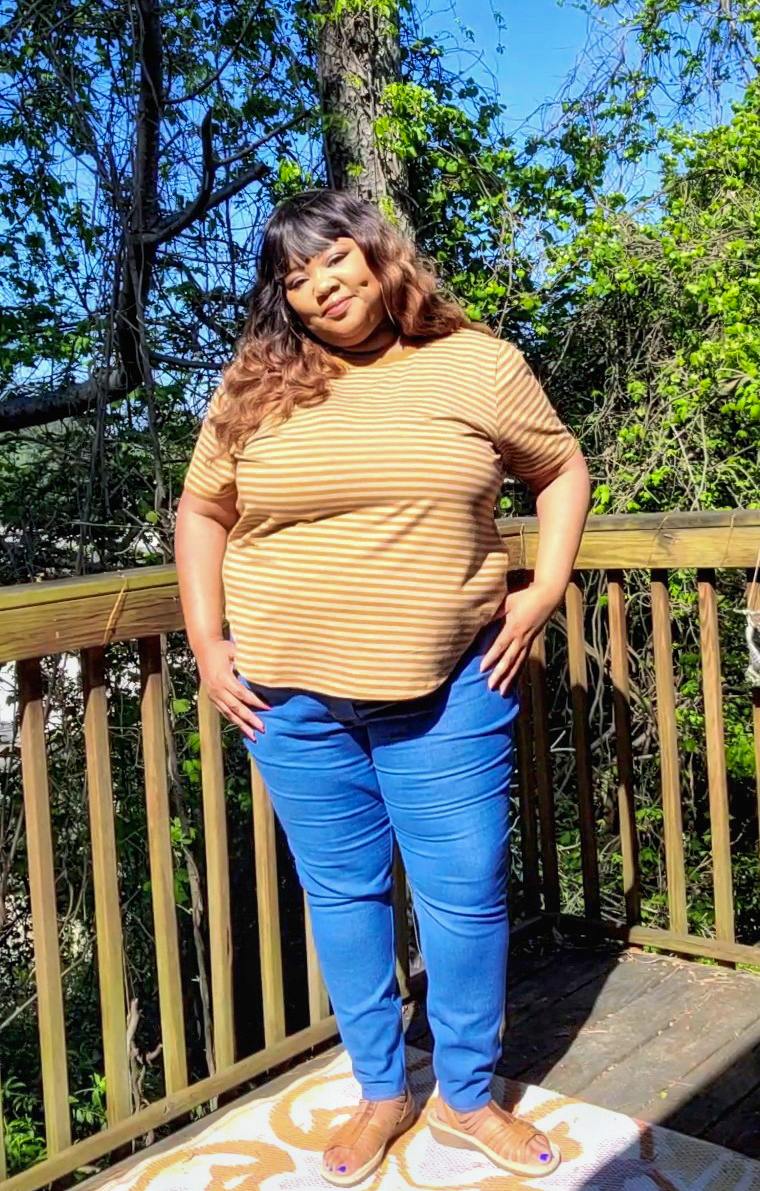
I recently received a pair of jeans in a mystery box that look like absolute poop on me. The revival of 90s fashion warms my 90s teenage heart, but some styles deserve to die and this wide leg monstrosity was one of them. Luckily for me, Minerva sent me the Cashmerette Ames jeans kit so I can make my own perfect skinny leg jeans! (The mystery box jeans will soon be shorts.) Making jeans can be such a complex project, so the Minerva kits are a godsend! Everything you need is in one simple kit. I remember spending weeks searching and researching quality rivets last year and I’m still not happy with what I ordered. The fabric and notions in this kit are all high quality, so you save time and money. The kits are truly a genius idea!
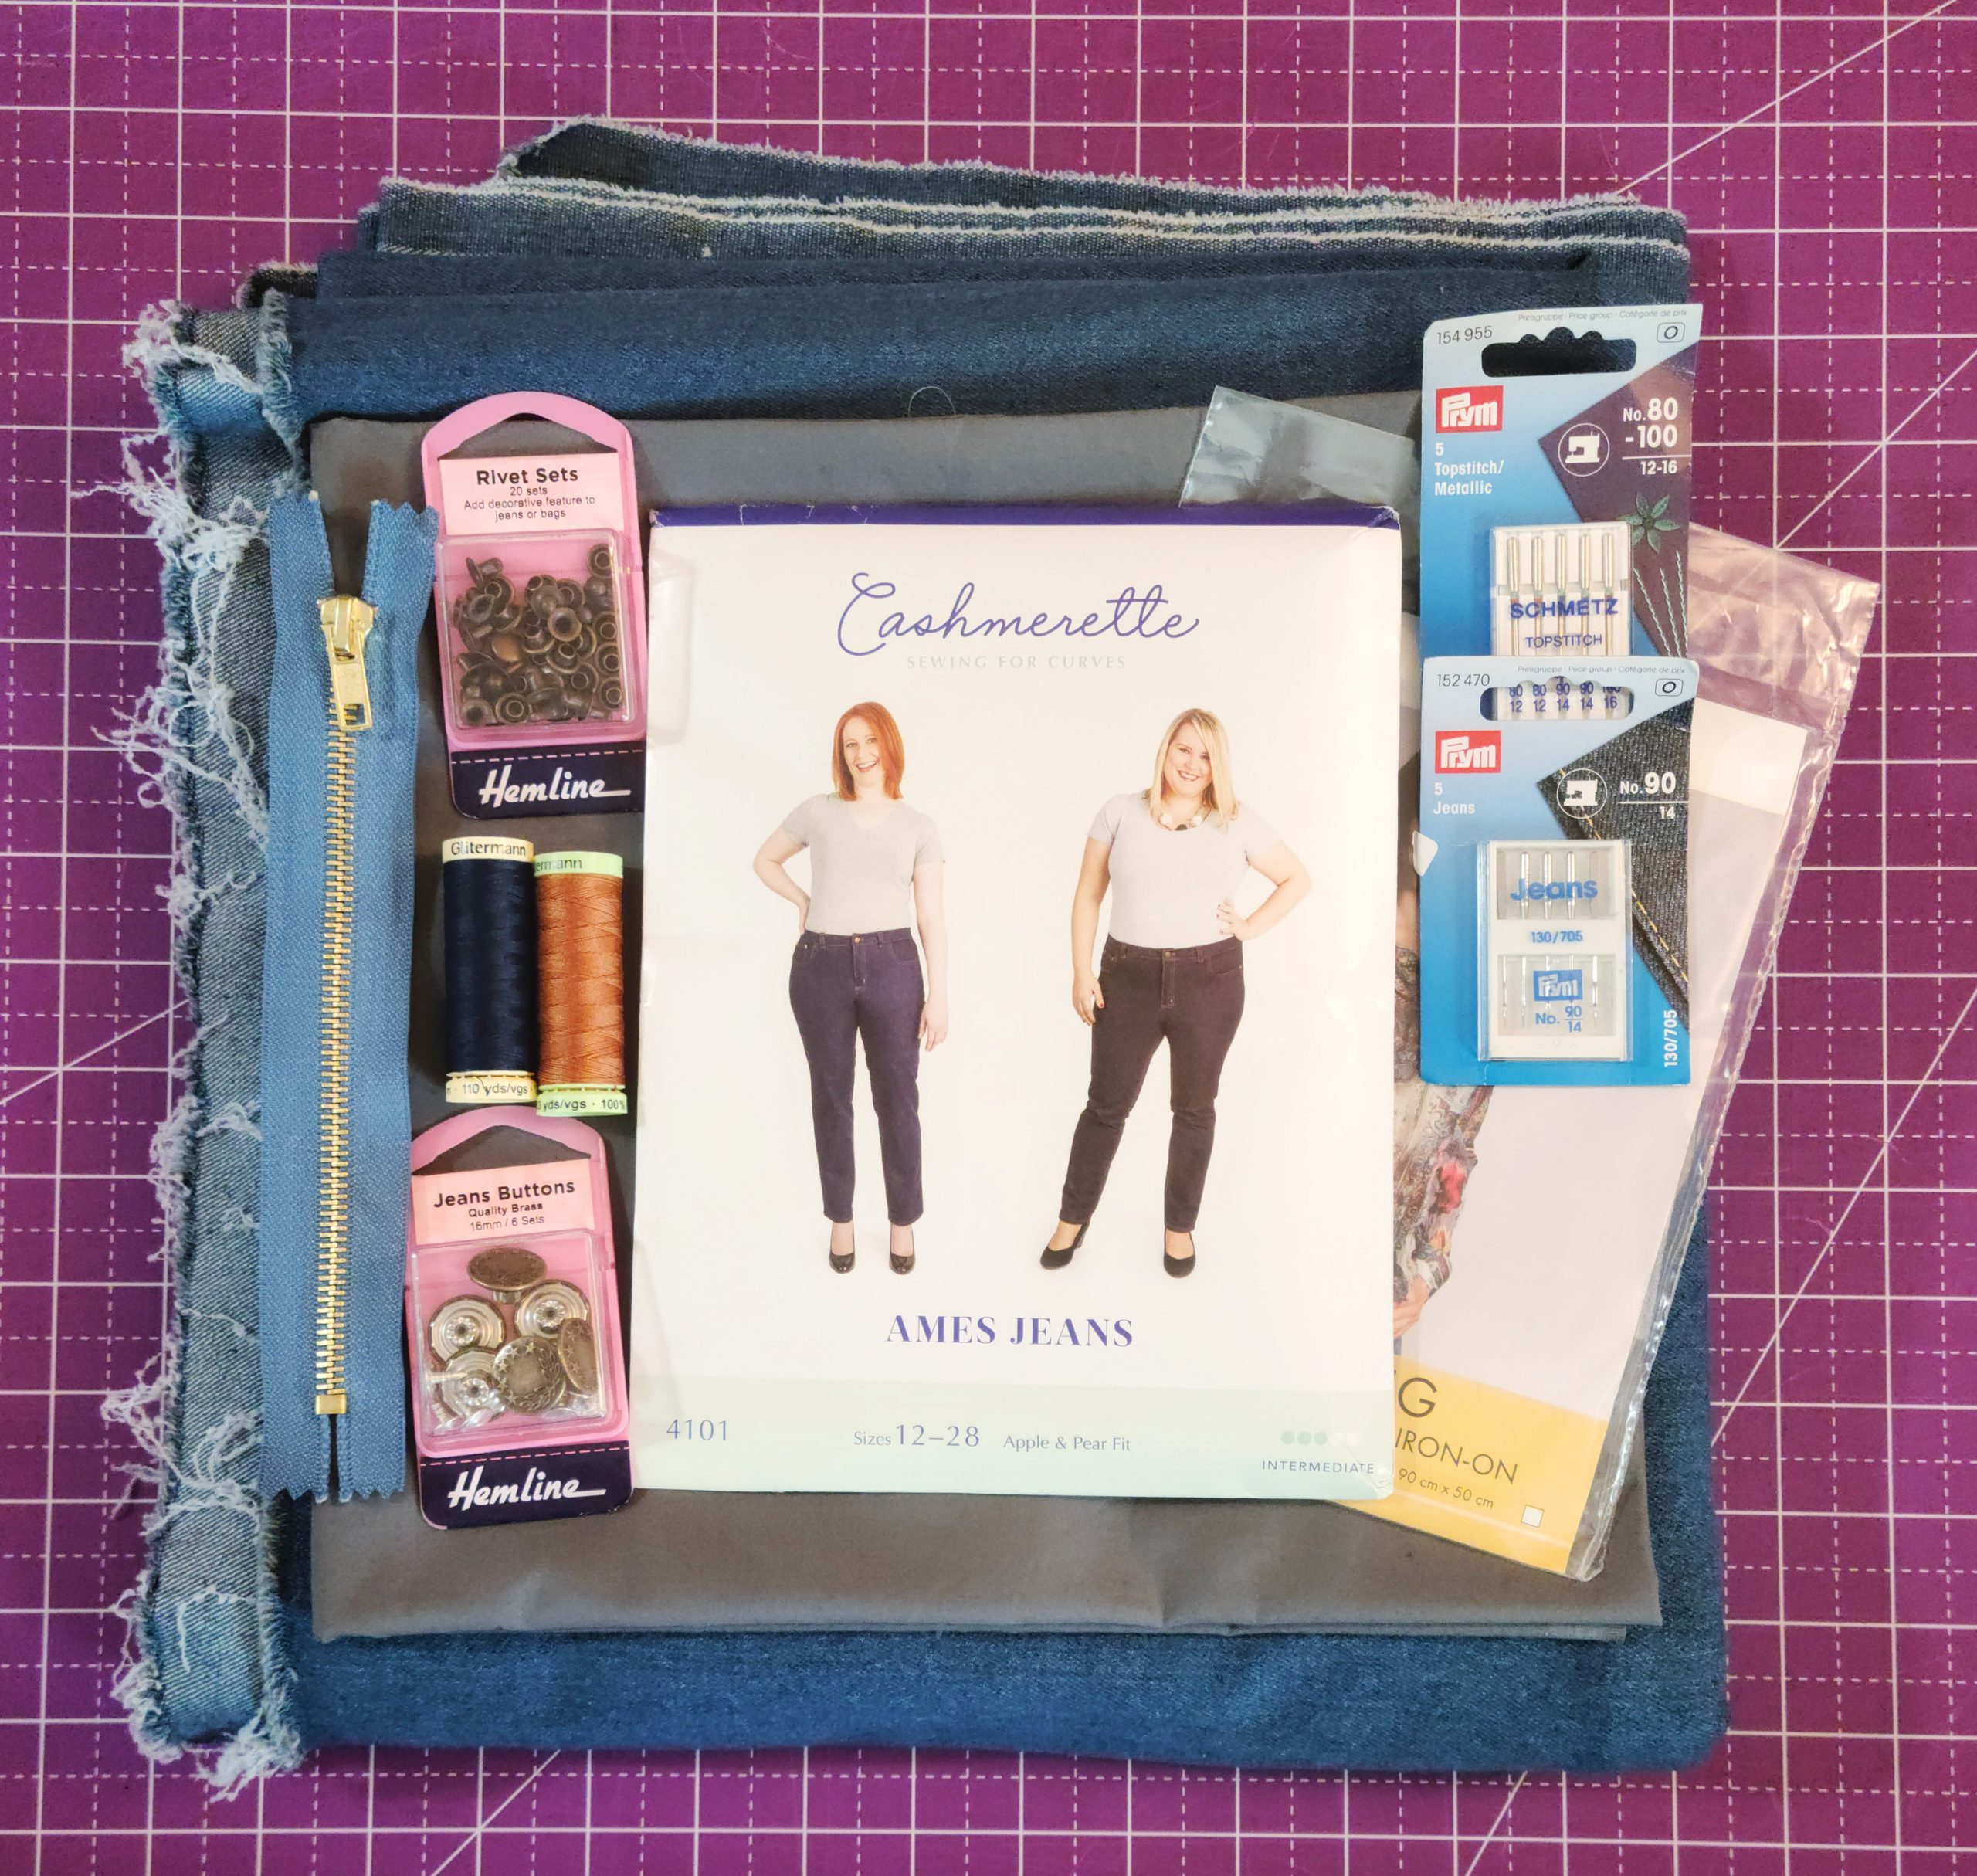
The Cashmerette Ames jeans covers sizes 12-28 and has two pelvis options and two leg fit options. I chose View A – the apple pelvis with the skinny leg fit. The pattern’s instruction booklet is very clear and was easy to follow. My kit includes the paper pattern, organic washed denim, Rose & Hubble Cotton Poplin Fabric for the lining, fusible interfacing, jeans buttons, a metal zipper, sewing and topstitching threads, sewing and topstitching needles, and a rivets kit. I want to take a moment to RAVE about these rivets. Everything in the kit is great, but these rivets were such a joy to work with. I tested them on a scrap piece of denim with my awl, rubber mallet and cast iron skillet (in lieu of an anvil) and installing the rivets was a breeze. Making these jeans was a delight and will have a permanent spot in my sewing rotation.

Here are a few tips for making the Ames jeans using the Minerva kit:
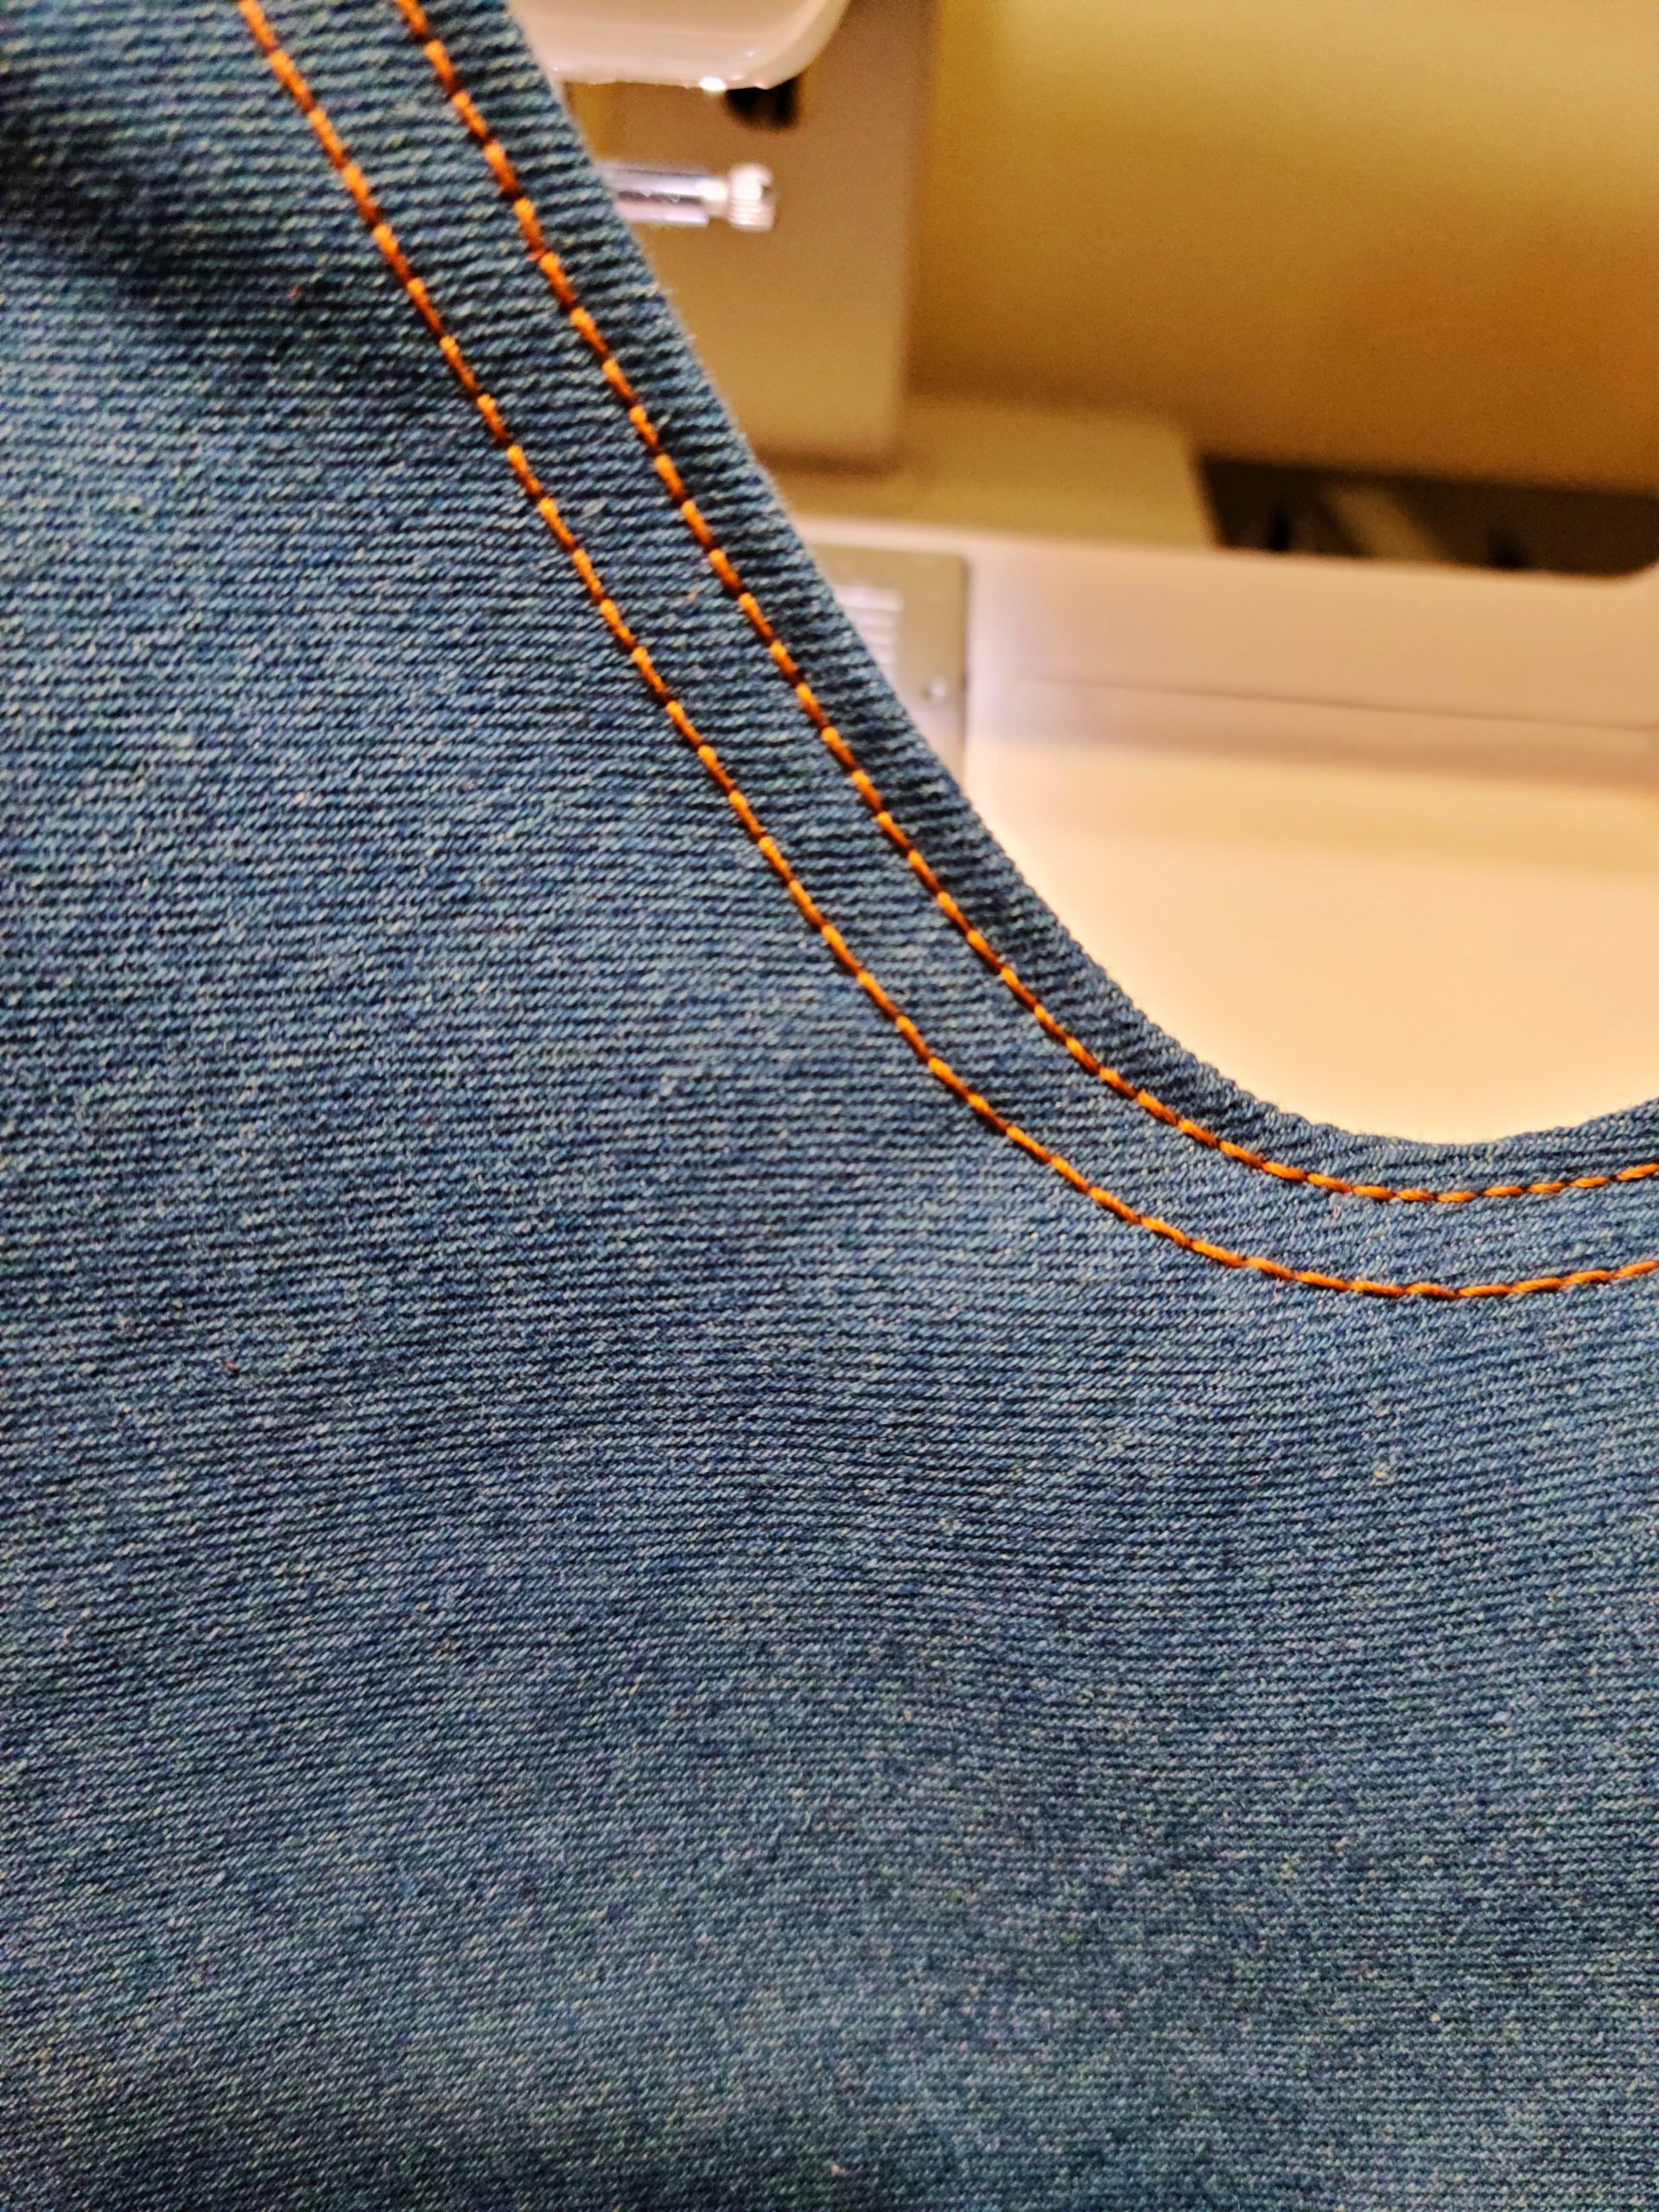
- Remember to use regular thread in the bobbin when topstitching. I used matching thread from my stash, but there’s enough thread in the kit if you’d like to use that.
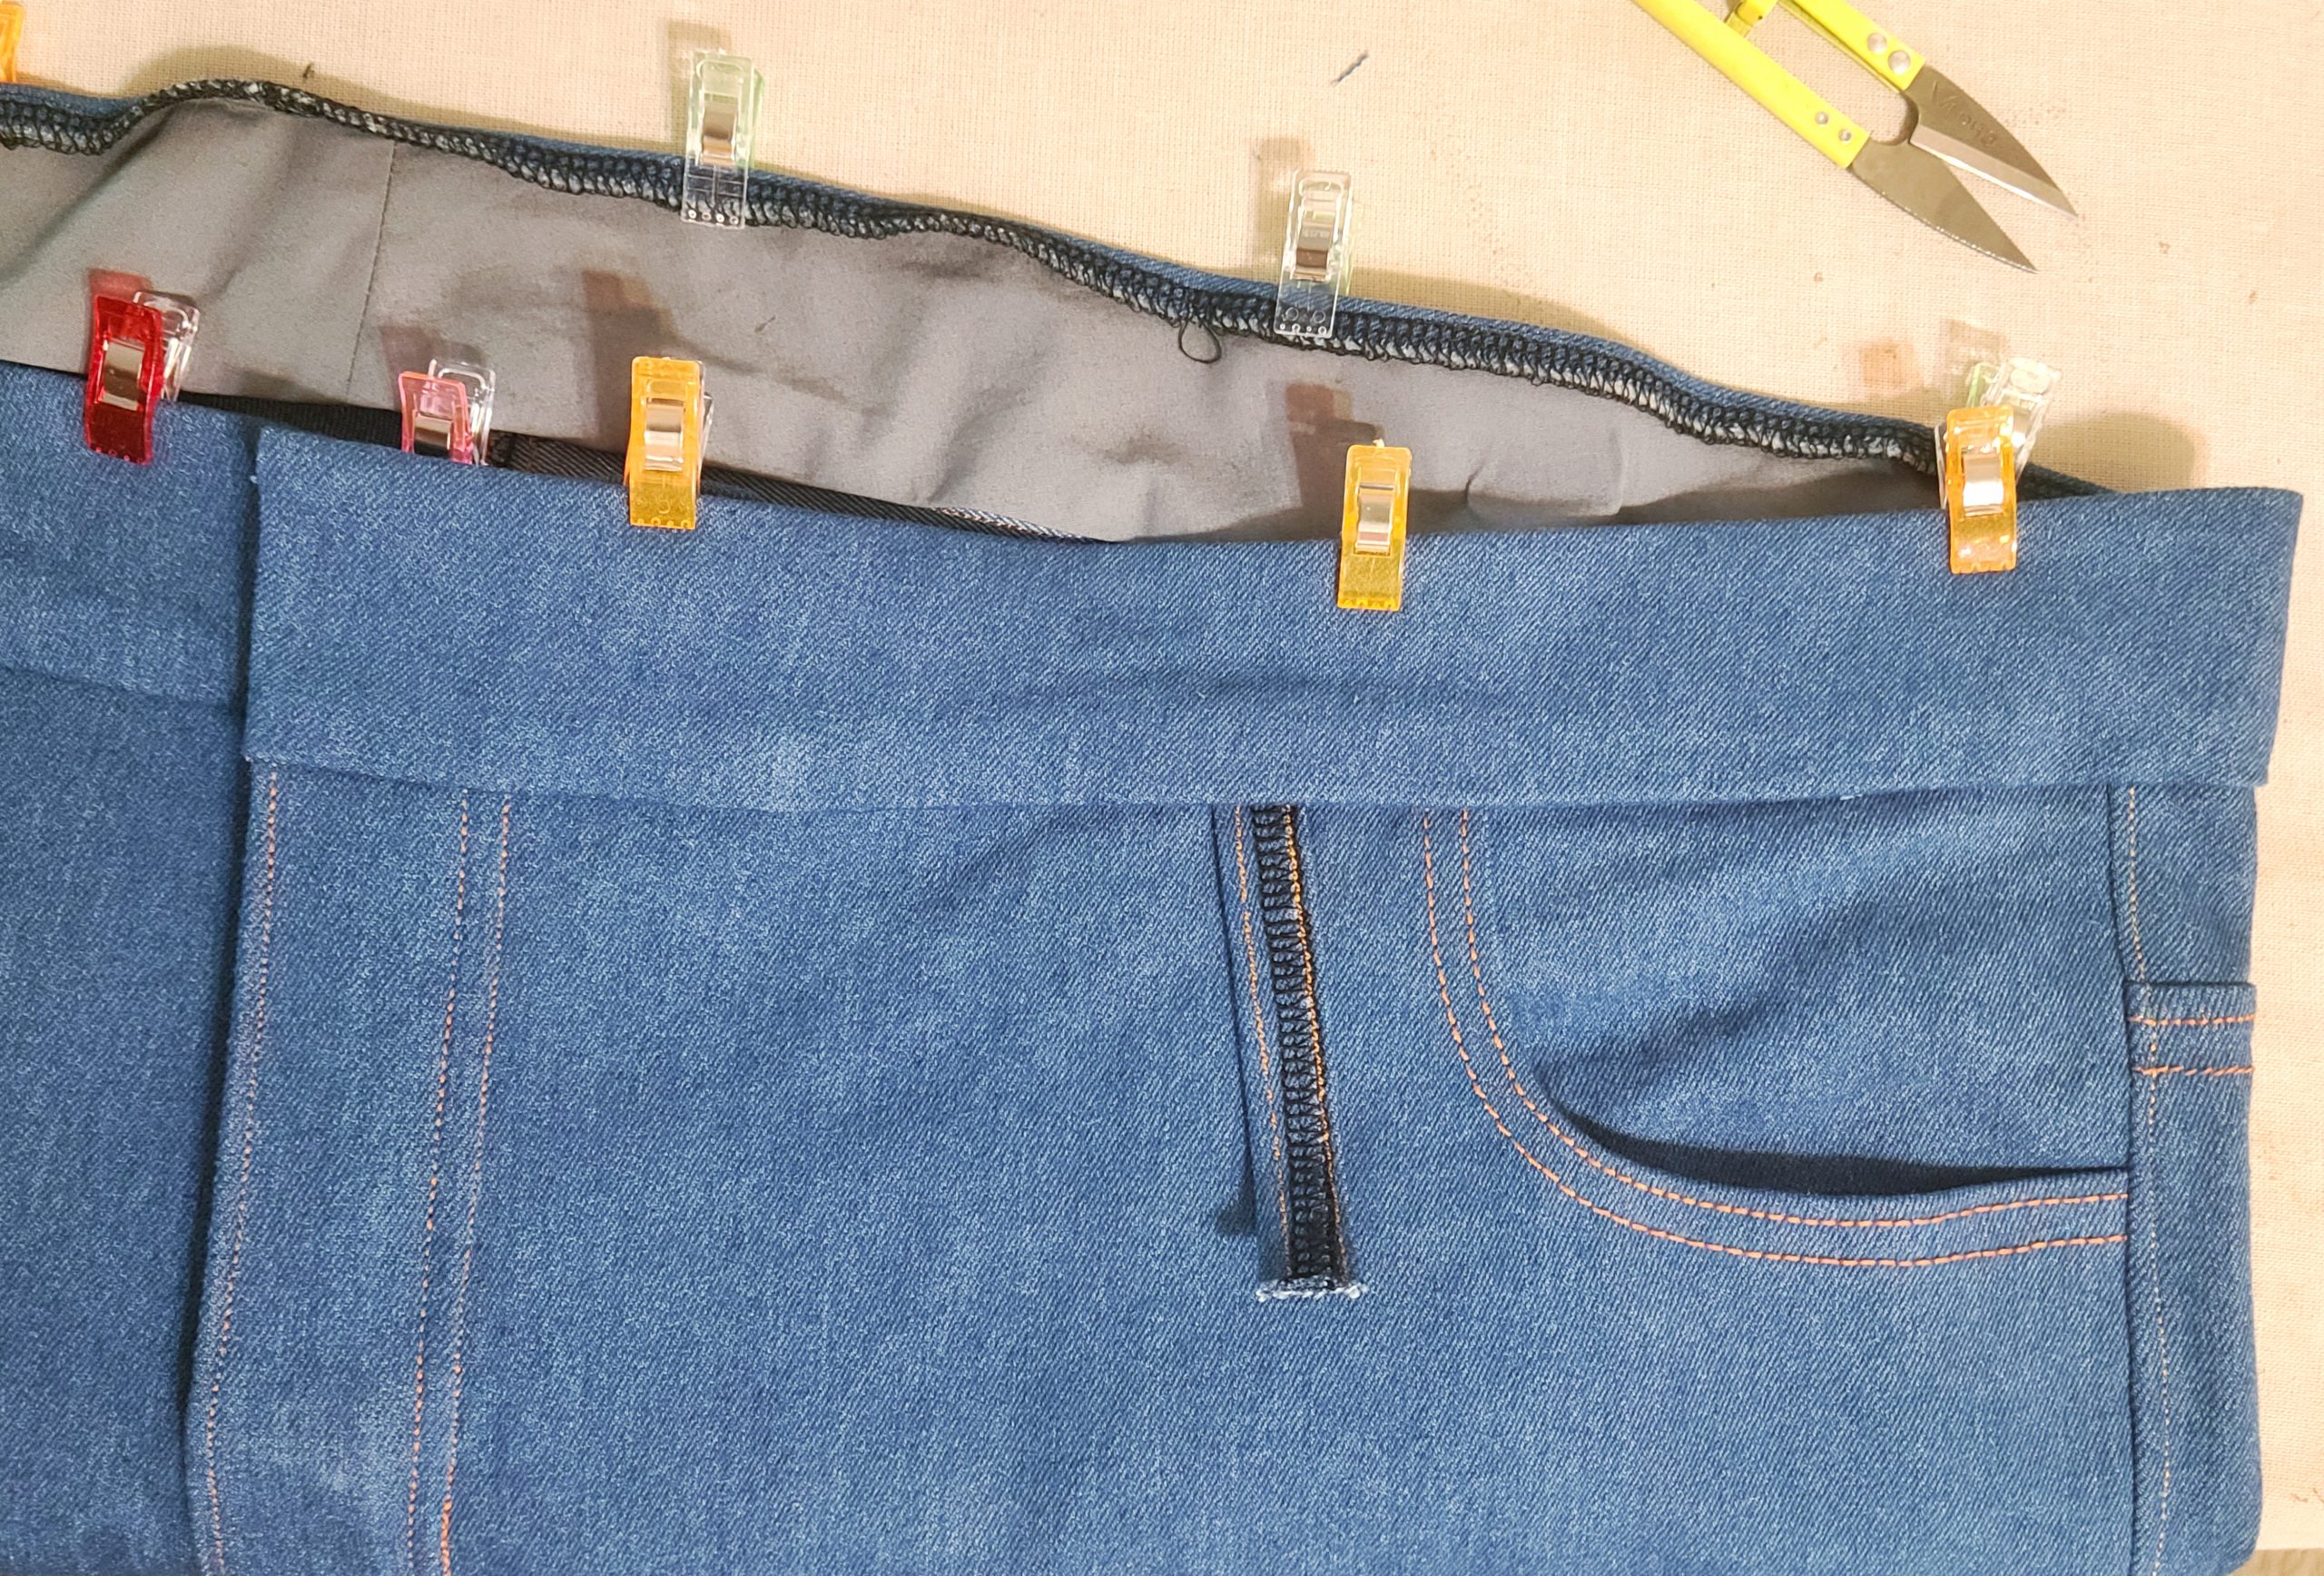
- Add a couple of inches to the waistband and lining. This makes it easier when you enclose the waistband. You can always trim the extra length later.
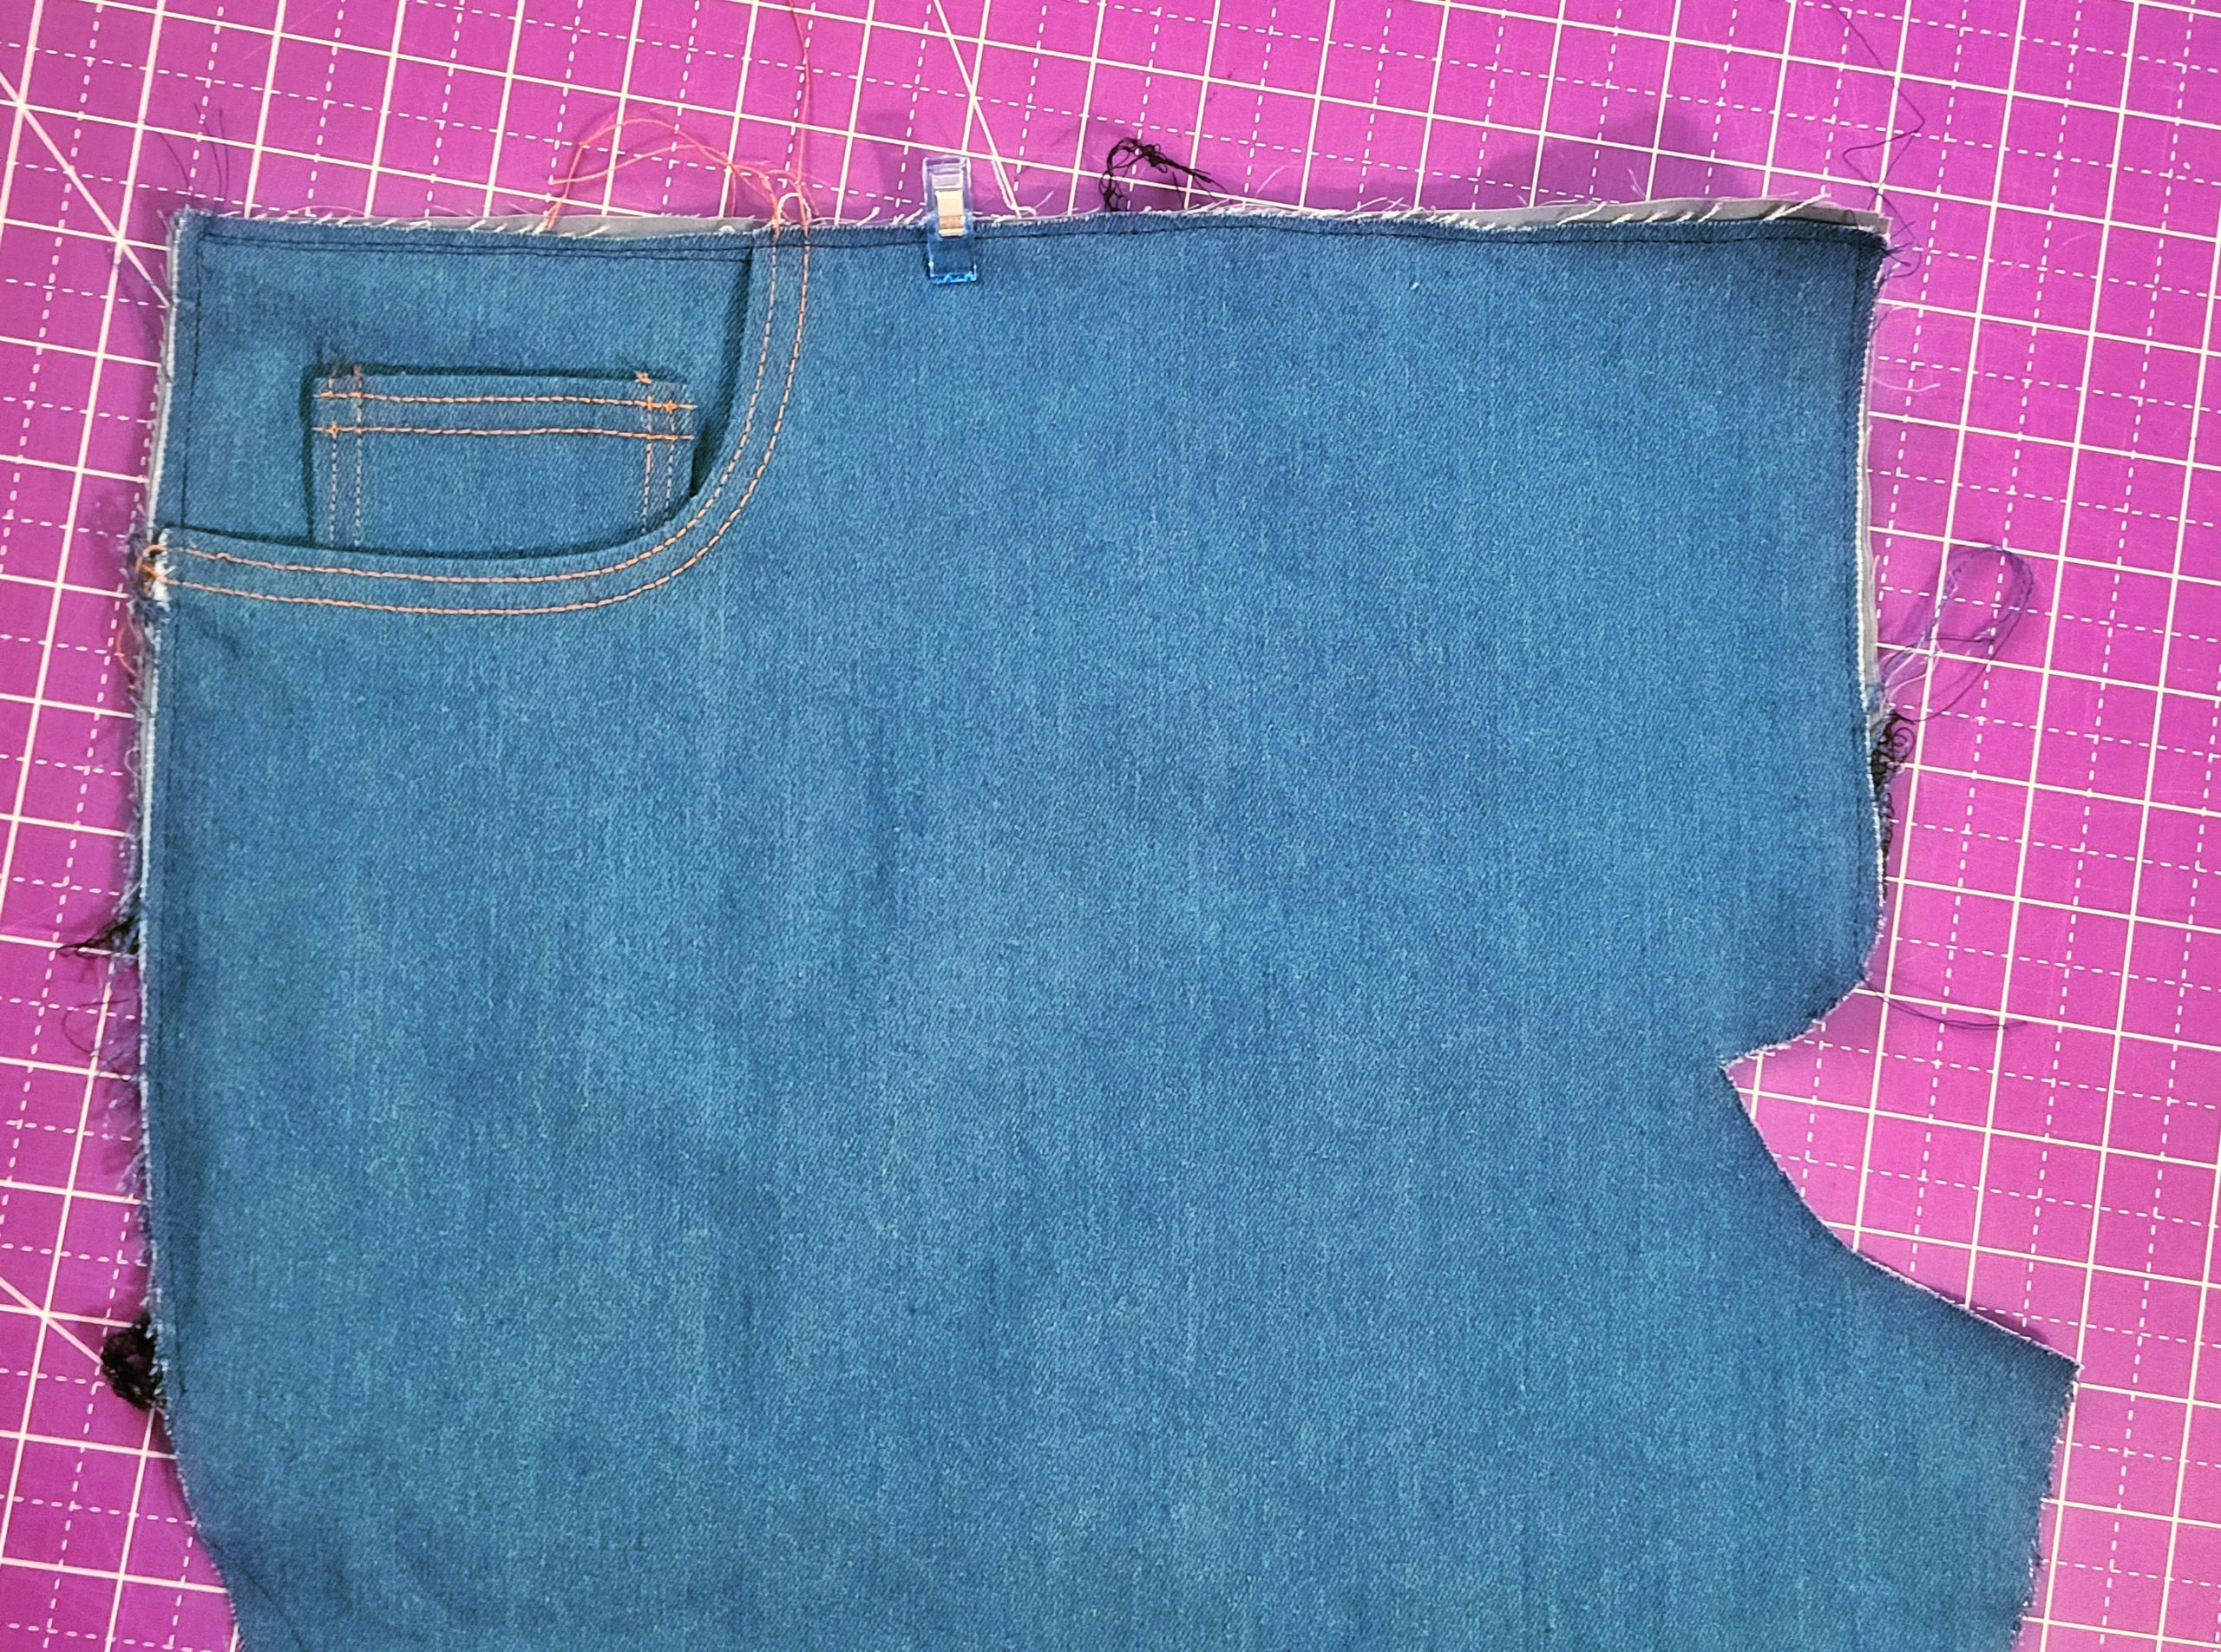
- Create the back pockets and the coin pocket at the same time. It just makes everything easier, especially if, like me, you’re making the jeans with a serger and a single sewing machine.
- Go slowly with the zipper fly. It will make no sense, but in the end, it works. I’ve only made a couple zipper flys and it’s always a little terrifying. It’s like magic!
- Trim from the inner leg seam and the side seam. The instructions suggest trimming just the side seams, but when I’ve done this in the past, the fit is still a bit awkward. I’ve found trimming from both sides results in a better fit. Make sure you’re adding the seam allowance when you trim.
- Triple stitch your seams. The pattern calls for using a regular straight stitch for sewing the seams, but triple stitching them will give you great stretch and strength. It takes a little longer, but it’s worth the wait.
- Finish waistband seams before attaching to jeans. I’m not sure if I just missed this step in the instructions, but I didn’t see it and had to finish the seams after I attached it, so it was a bit tricky.
- Be sure to trim the excess zipper before enclosing the waistband. If you don’t, you’ll have trouble placing the button and buttonhole in the right place.
These look really nice. I’m in the middle of making a par – thanks for the sewing hints.
You’re very welcome! Good luck! ❤️