There’s a new pattern coming out of Deer & Doe! Well, it’s not necessarily a new pattern, but a new twist on an old one. Since I am no longer tweaking patterns to fit my size range, there’s a lot of patterns that I don’t even look at. So, I was beyond thrilled when Deer & Doe reached out to tell me about the expanded size range for the Myosotis dress! I love the shape of this casual and cute dress, but until now, it only came in the smaller size range. This is such an easy dress to make! The hardest part was choosing which side of my reversible linen fabric to use as the body of the dress.
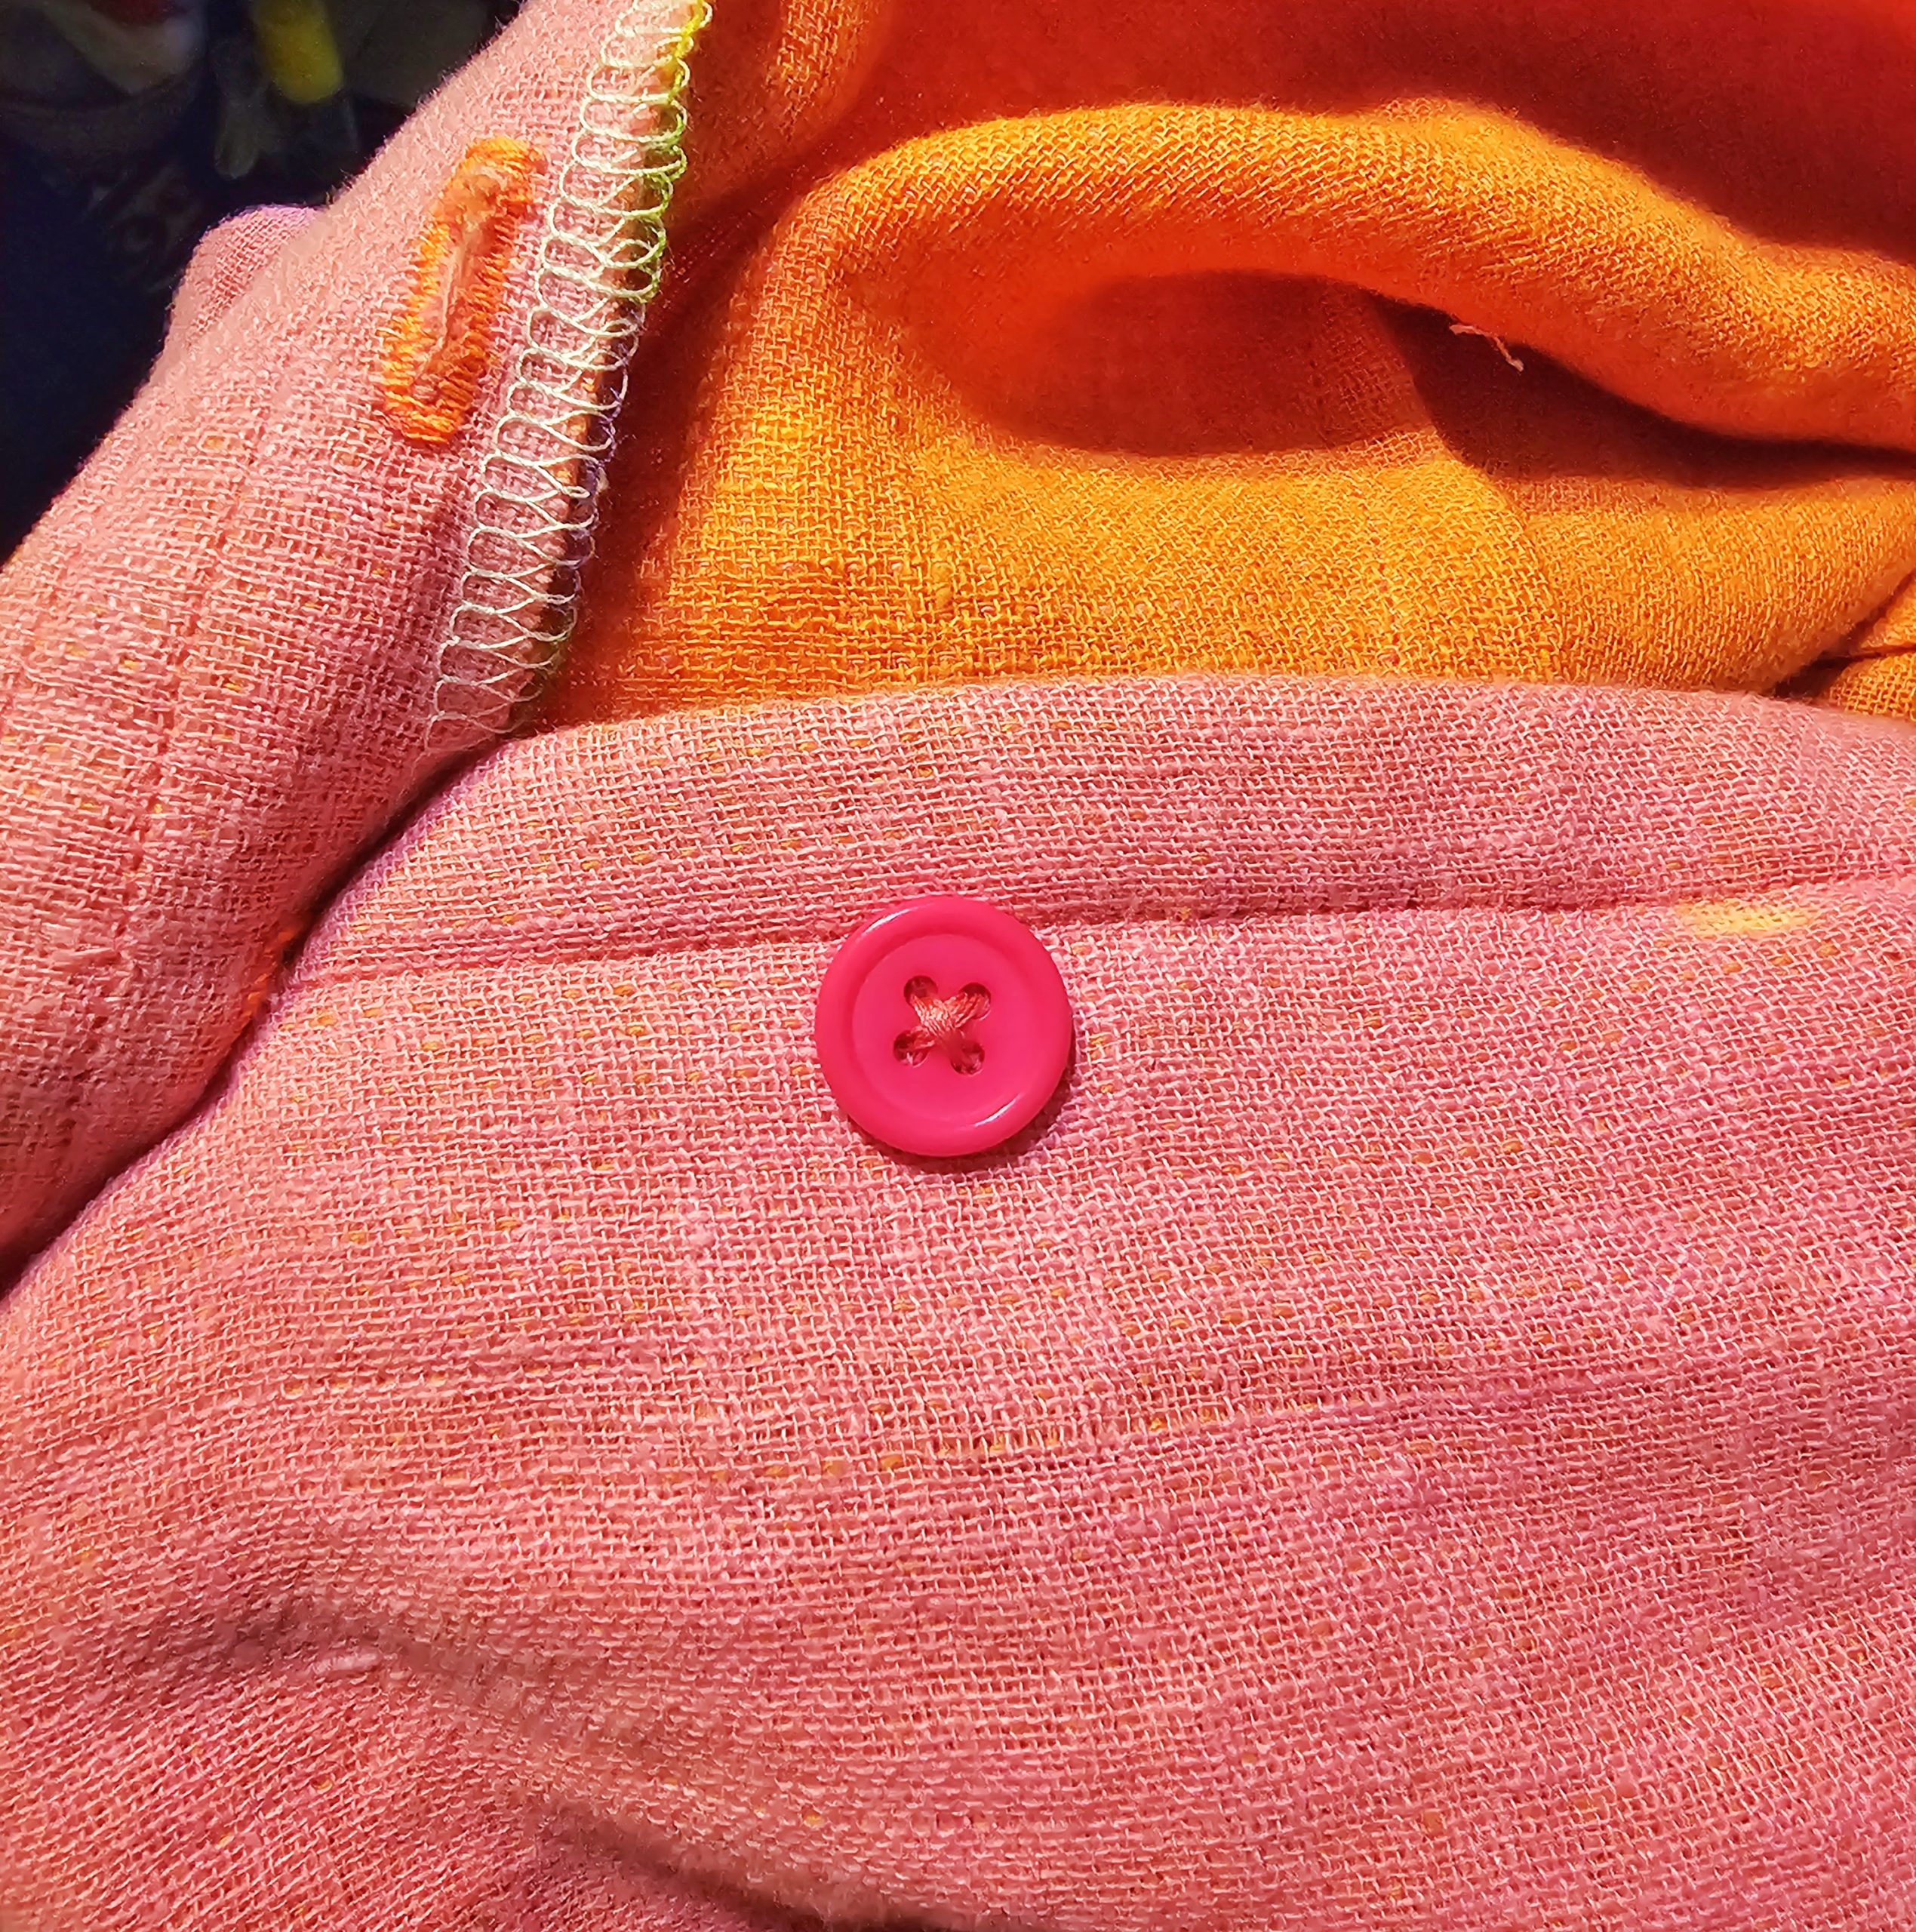
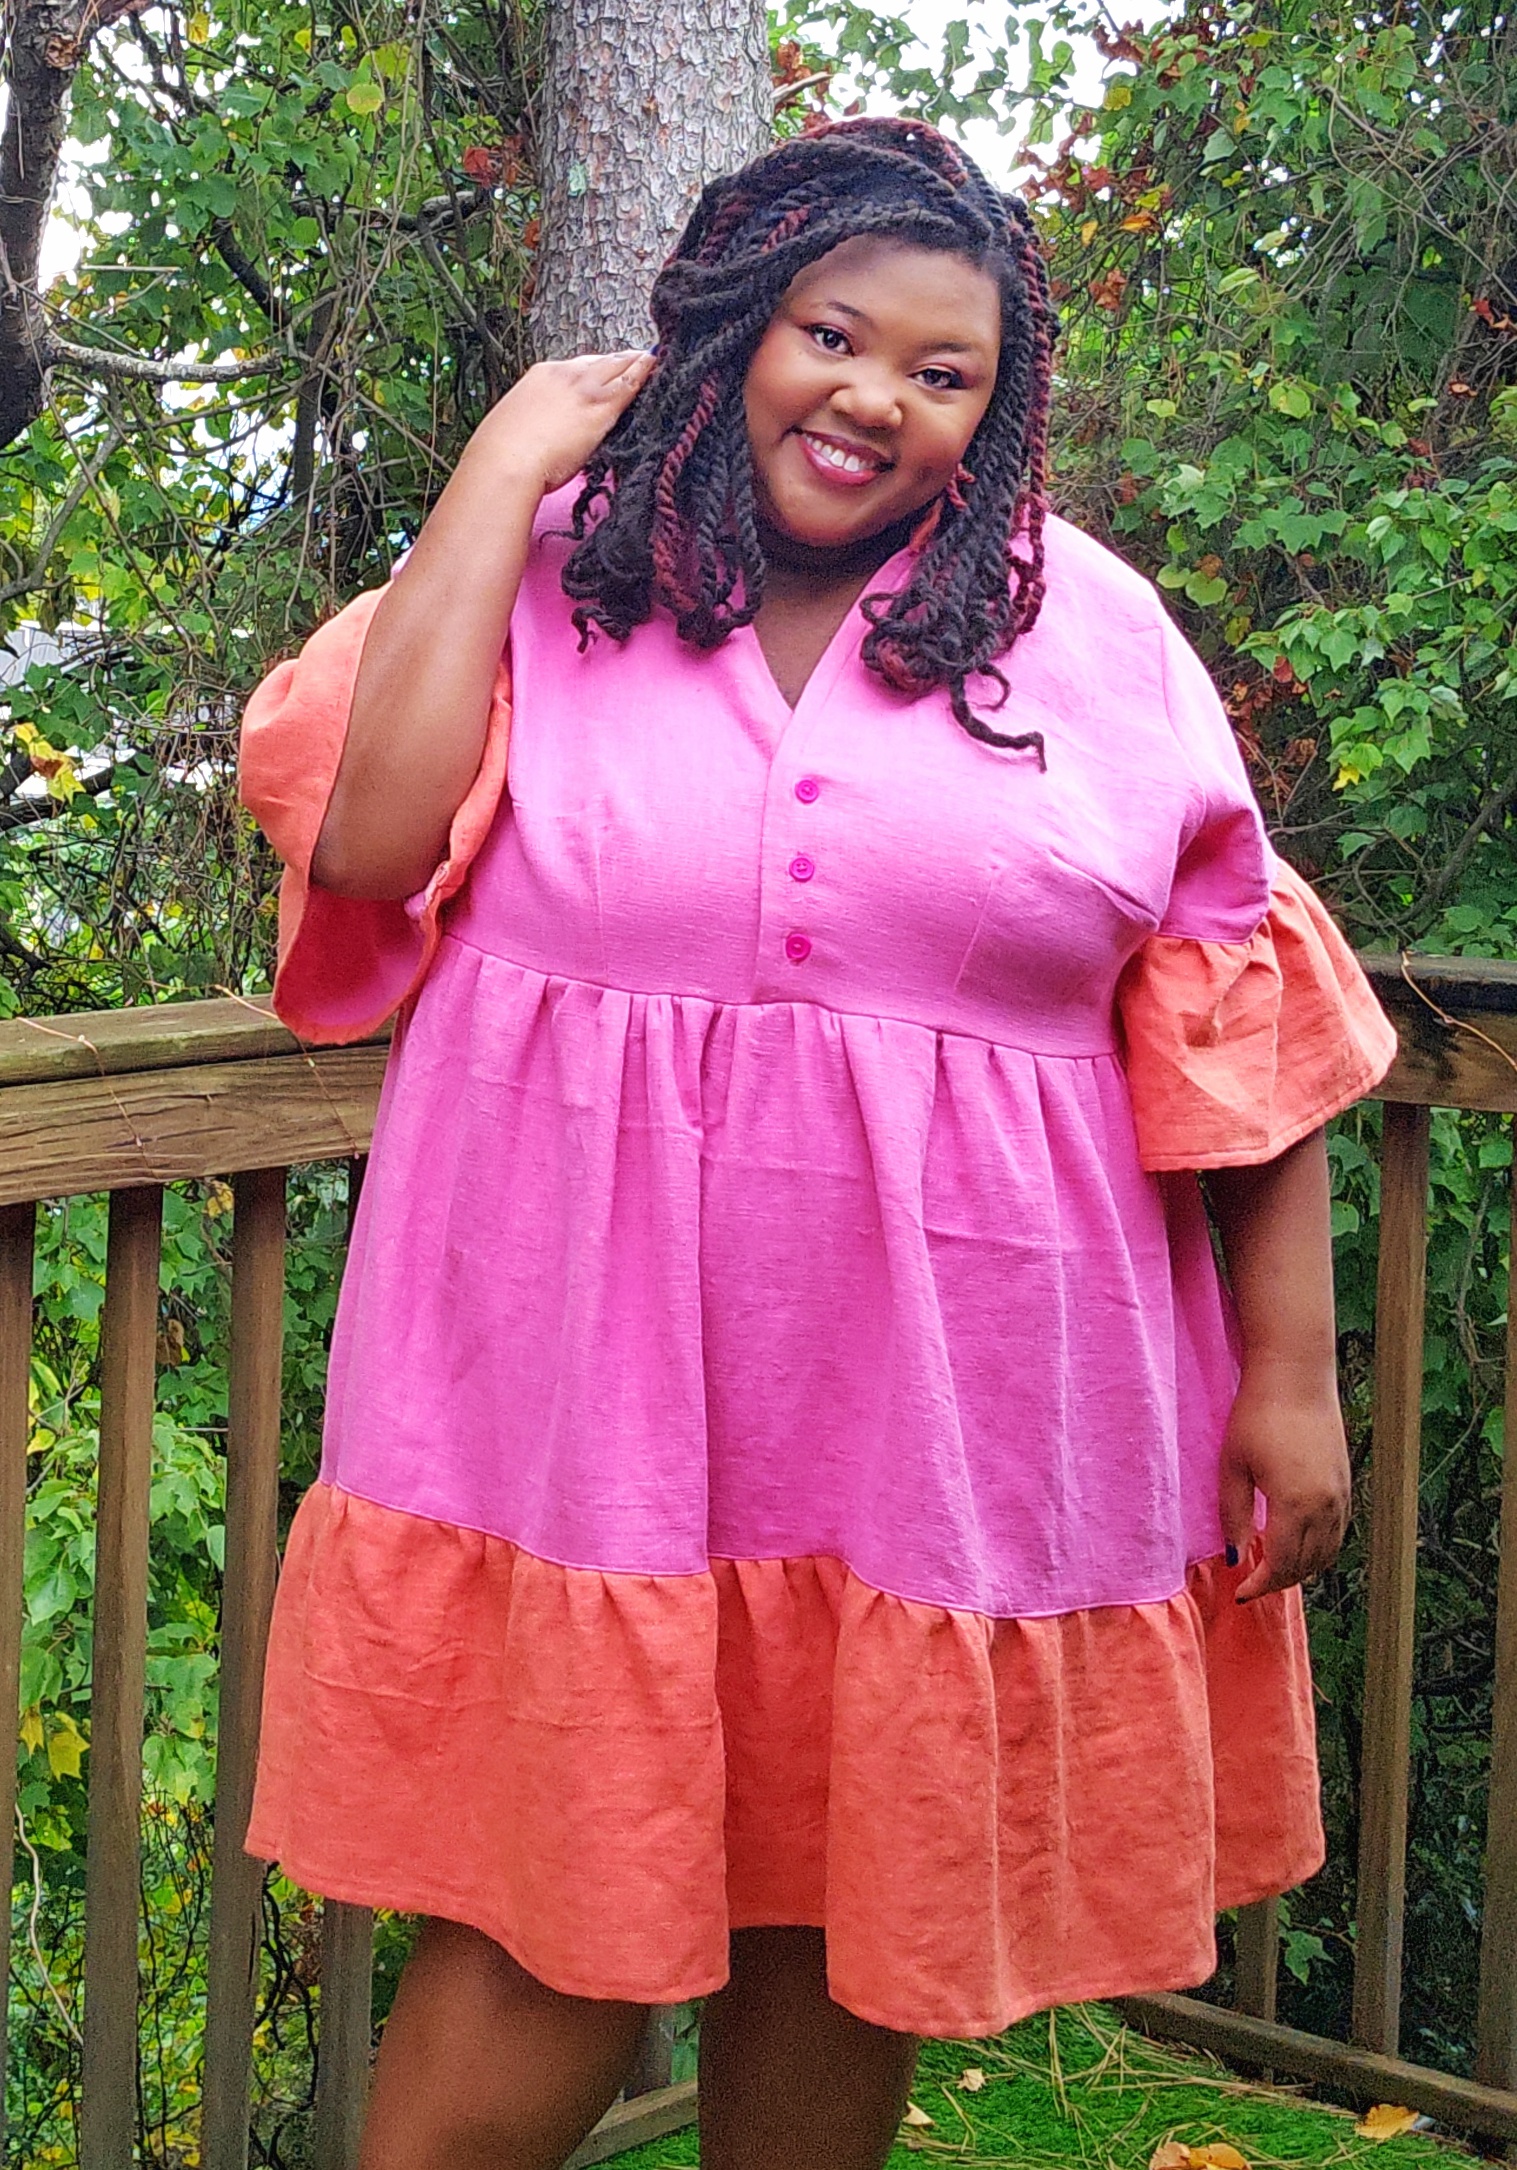
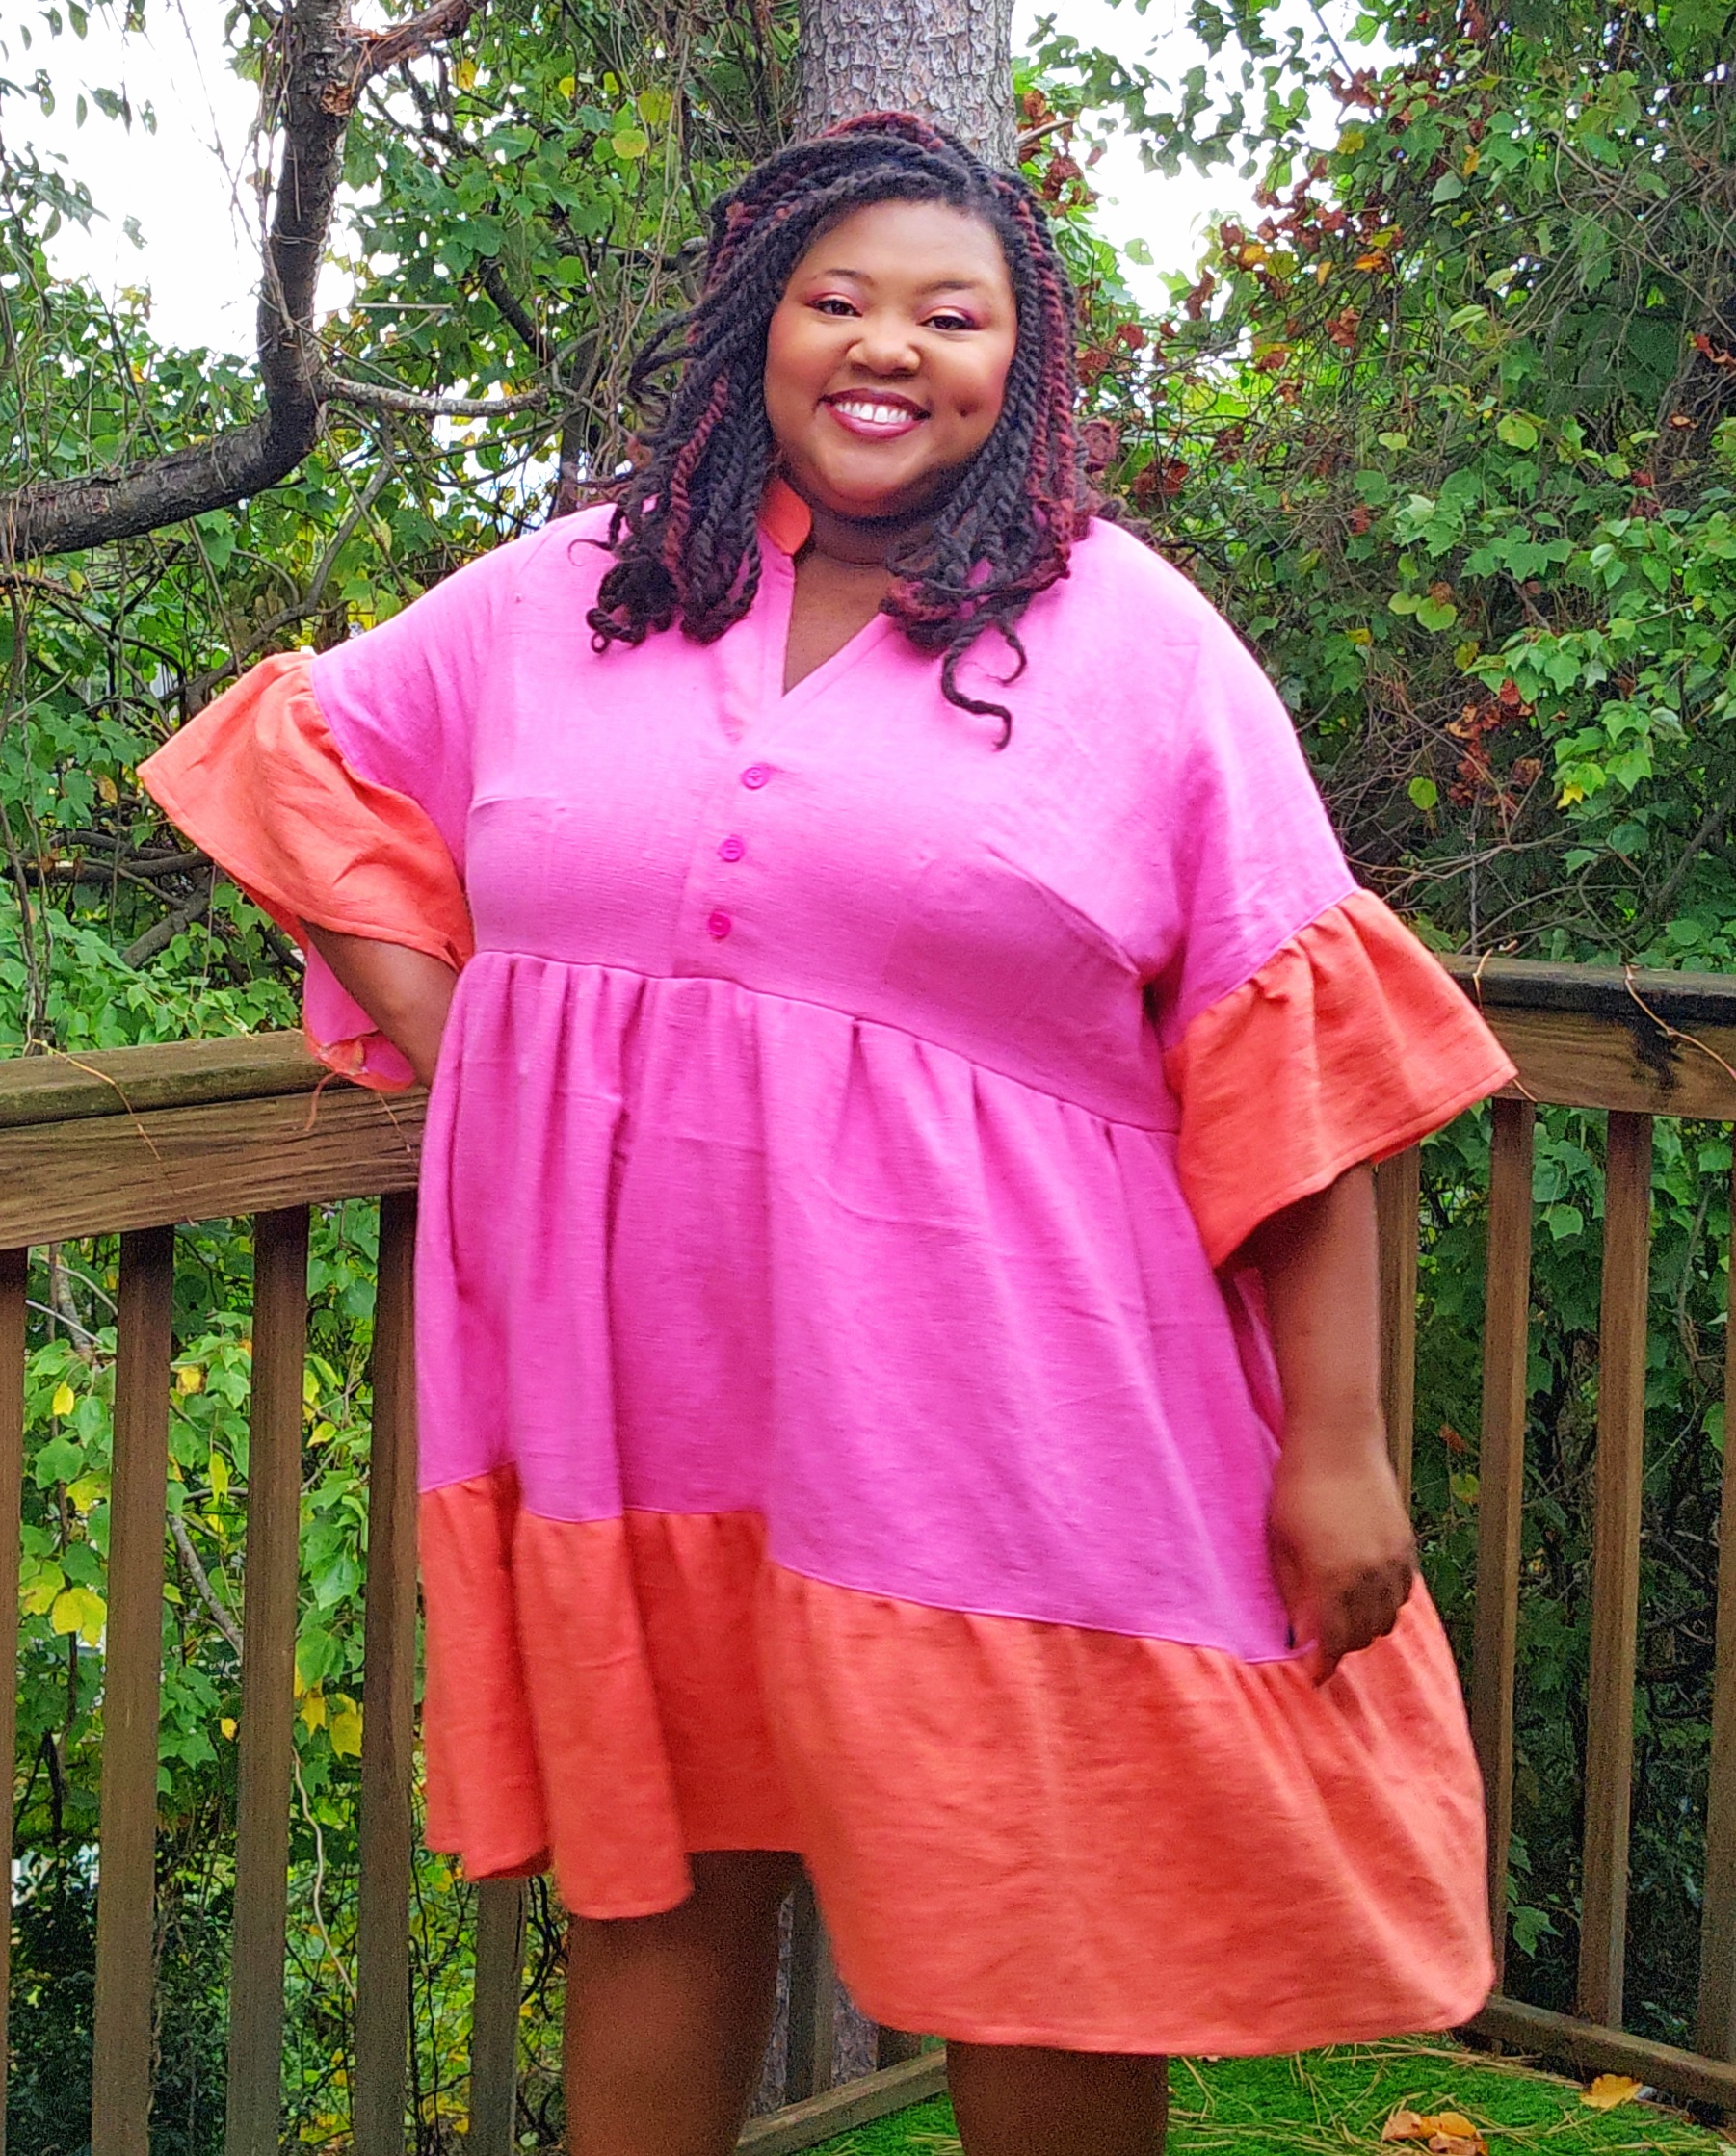
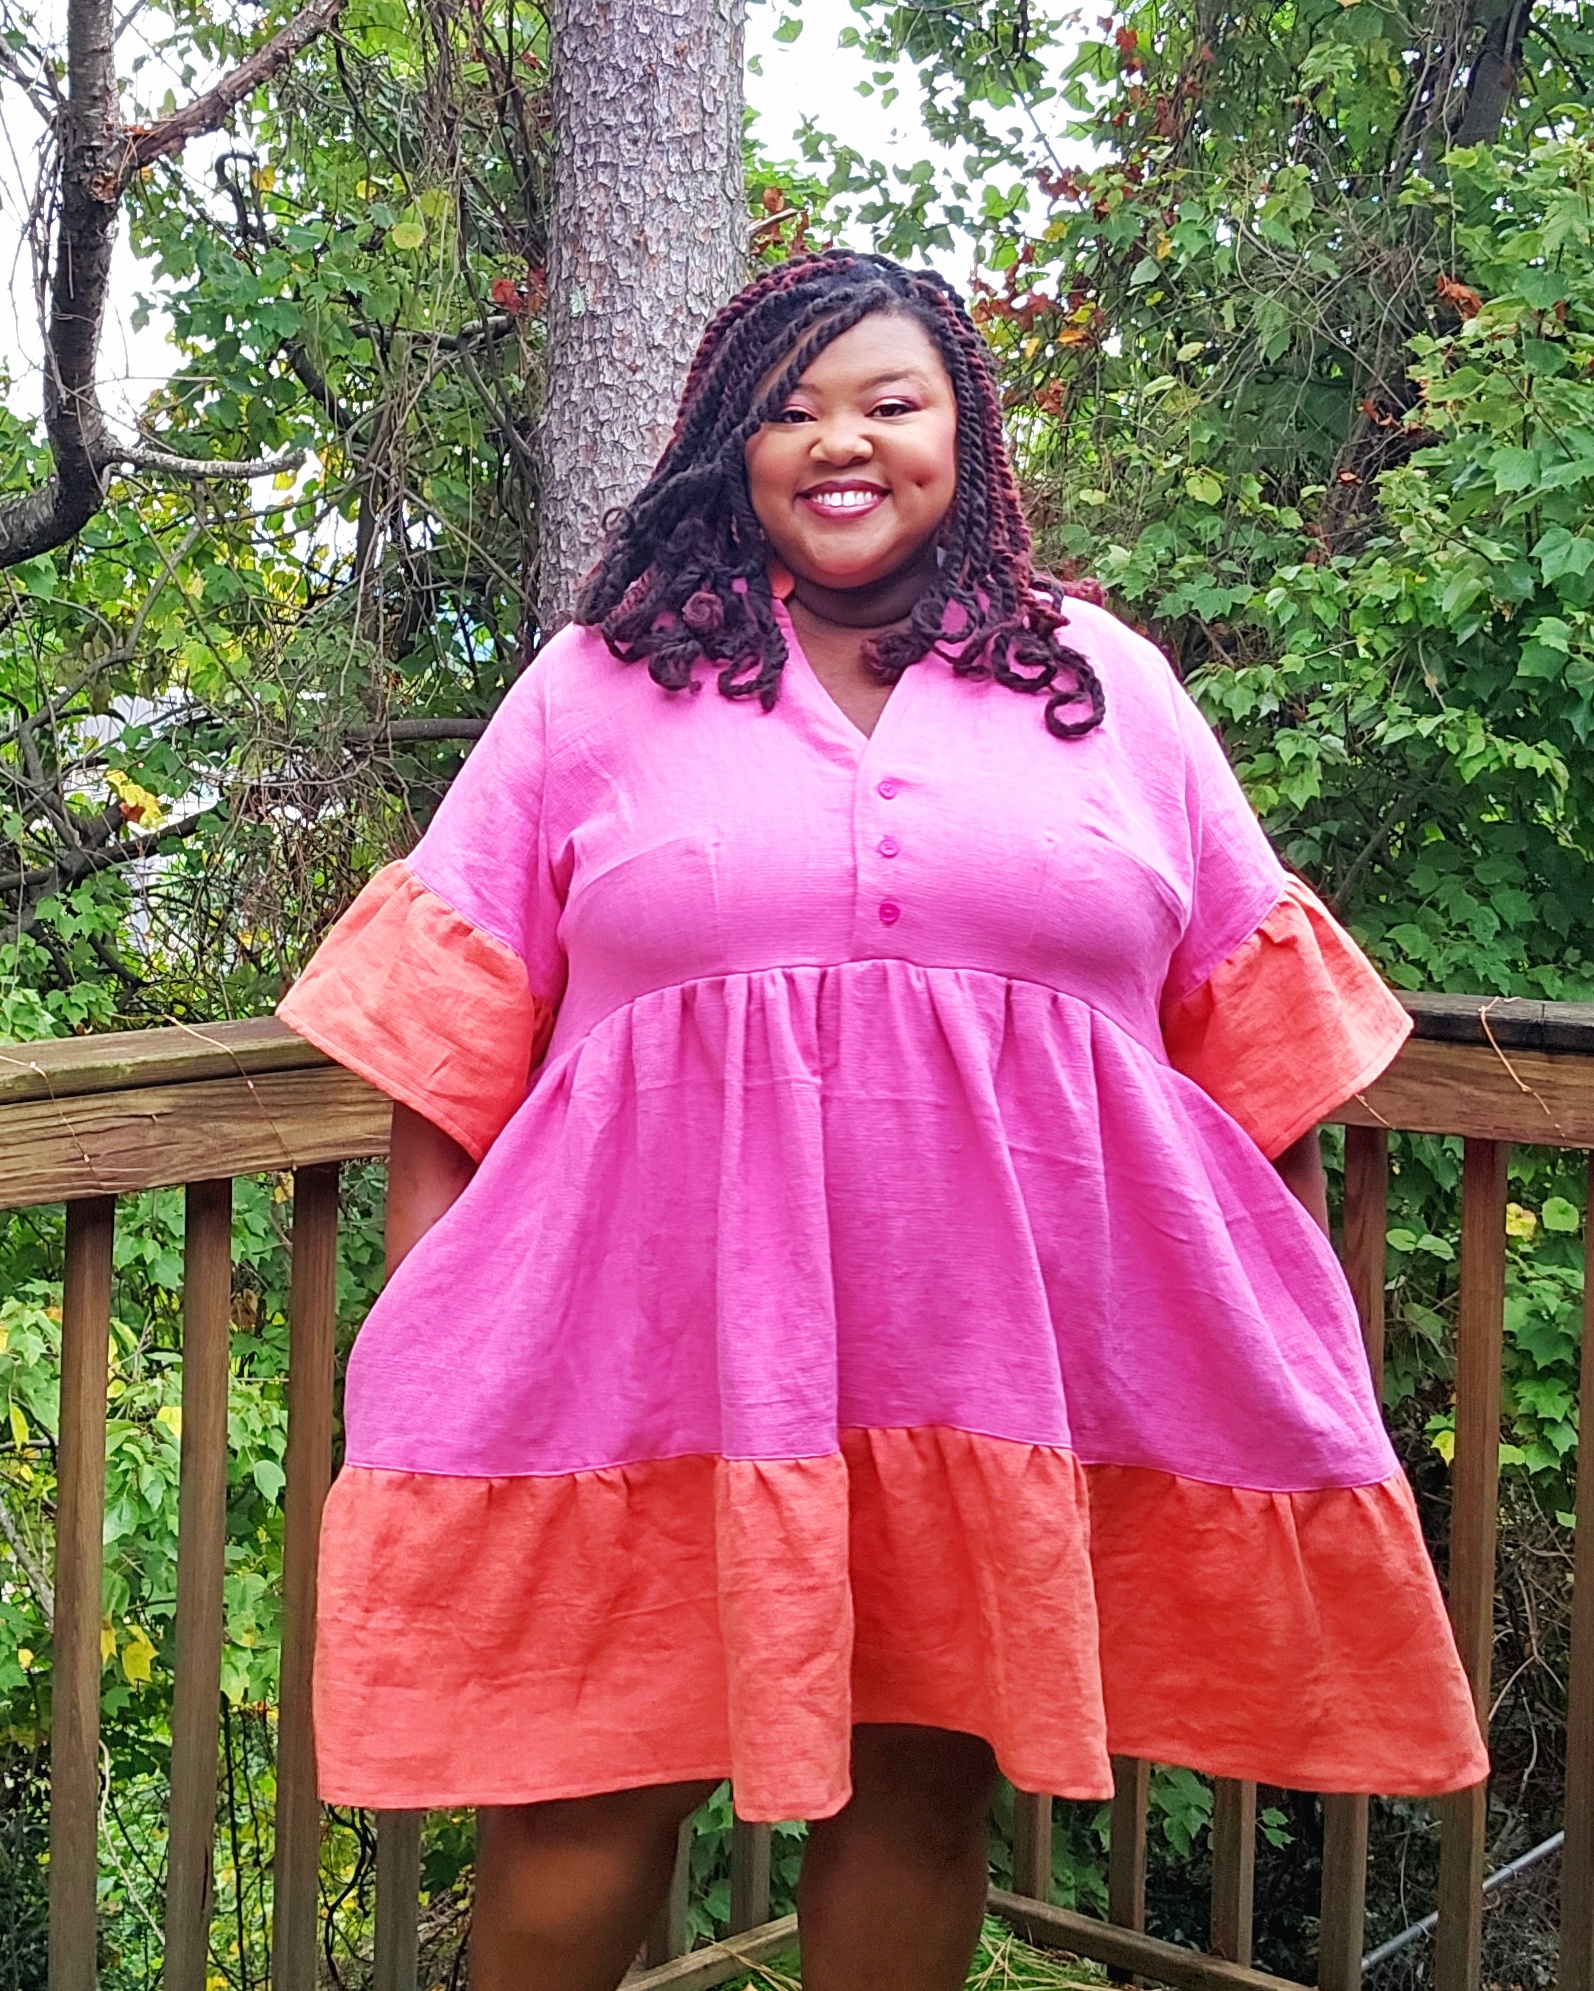
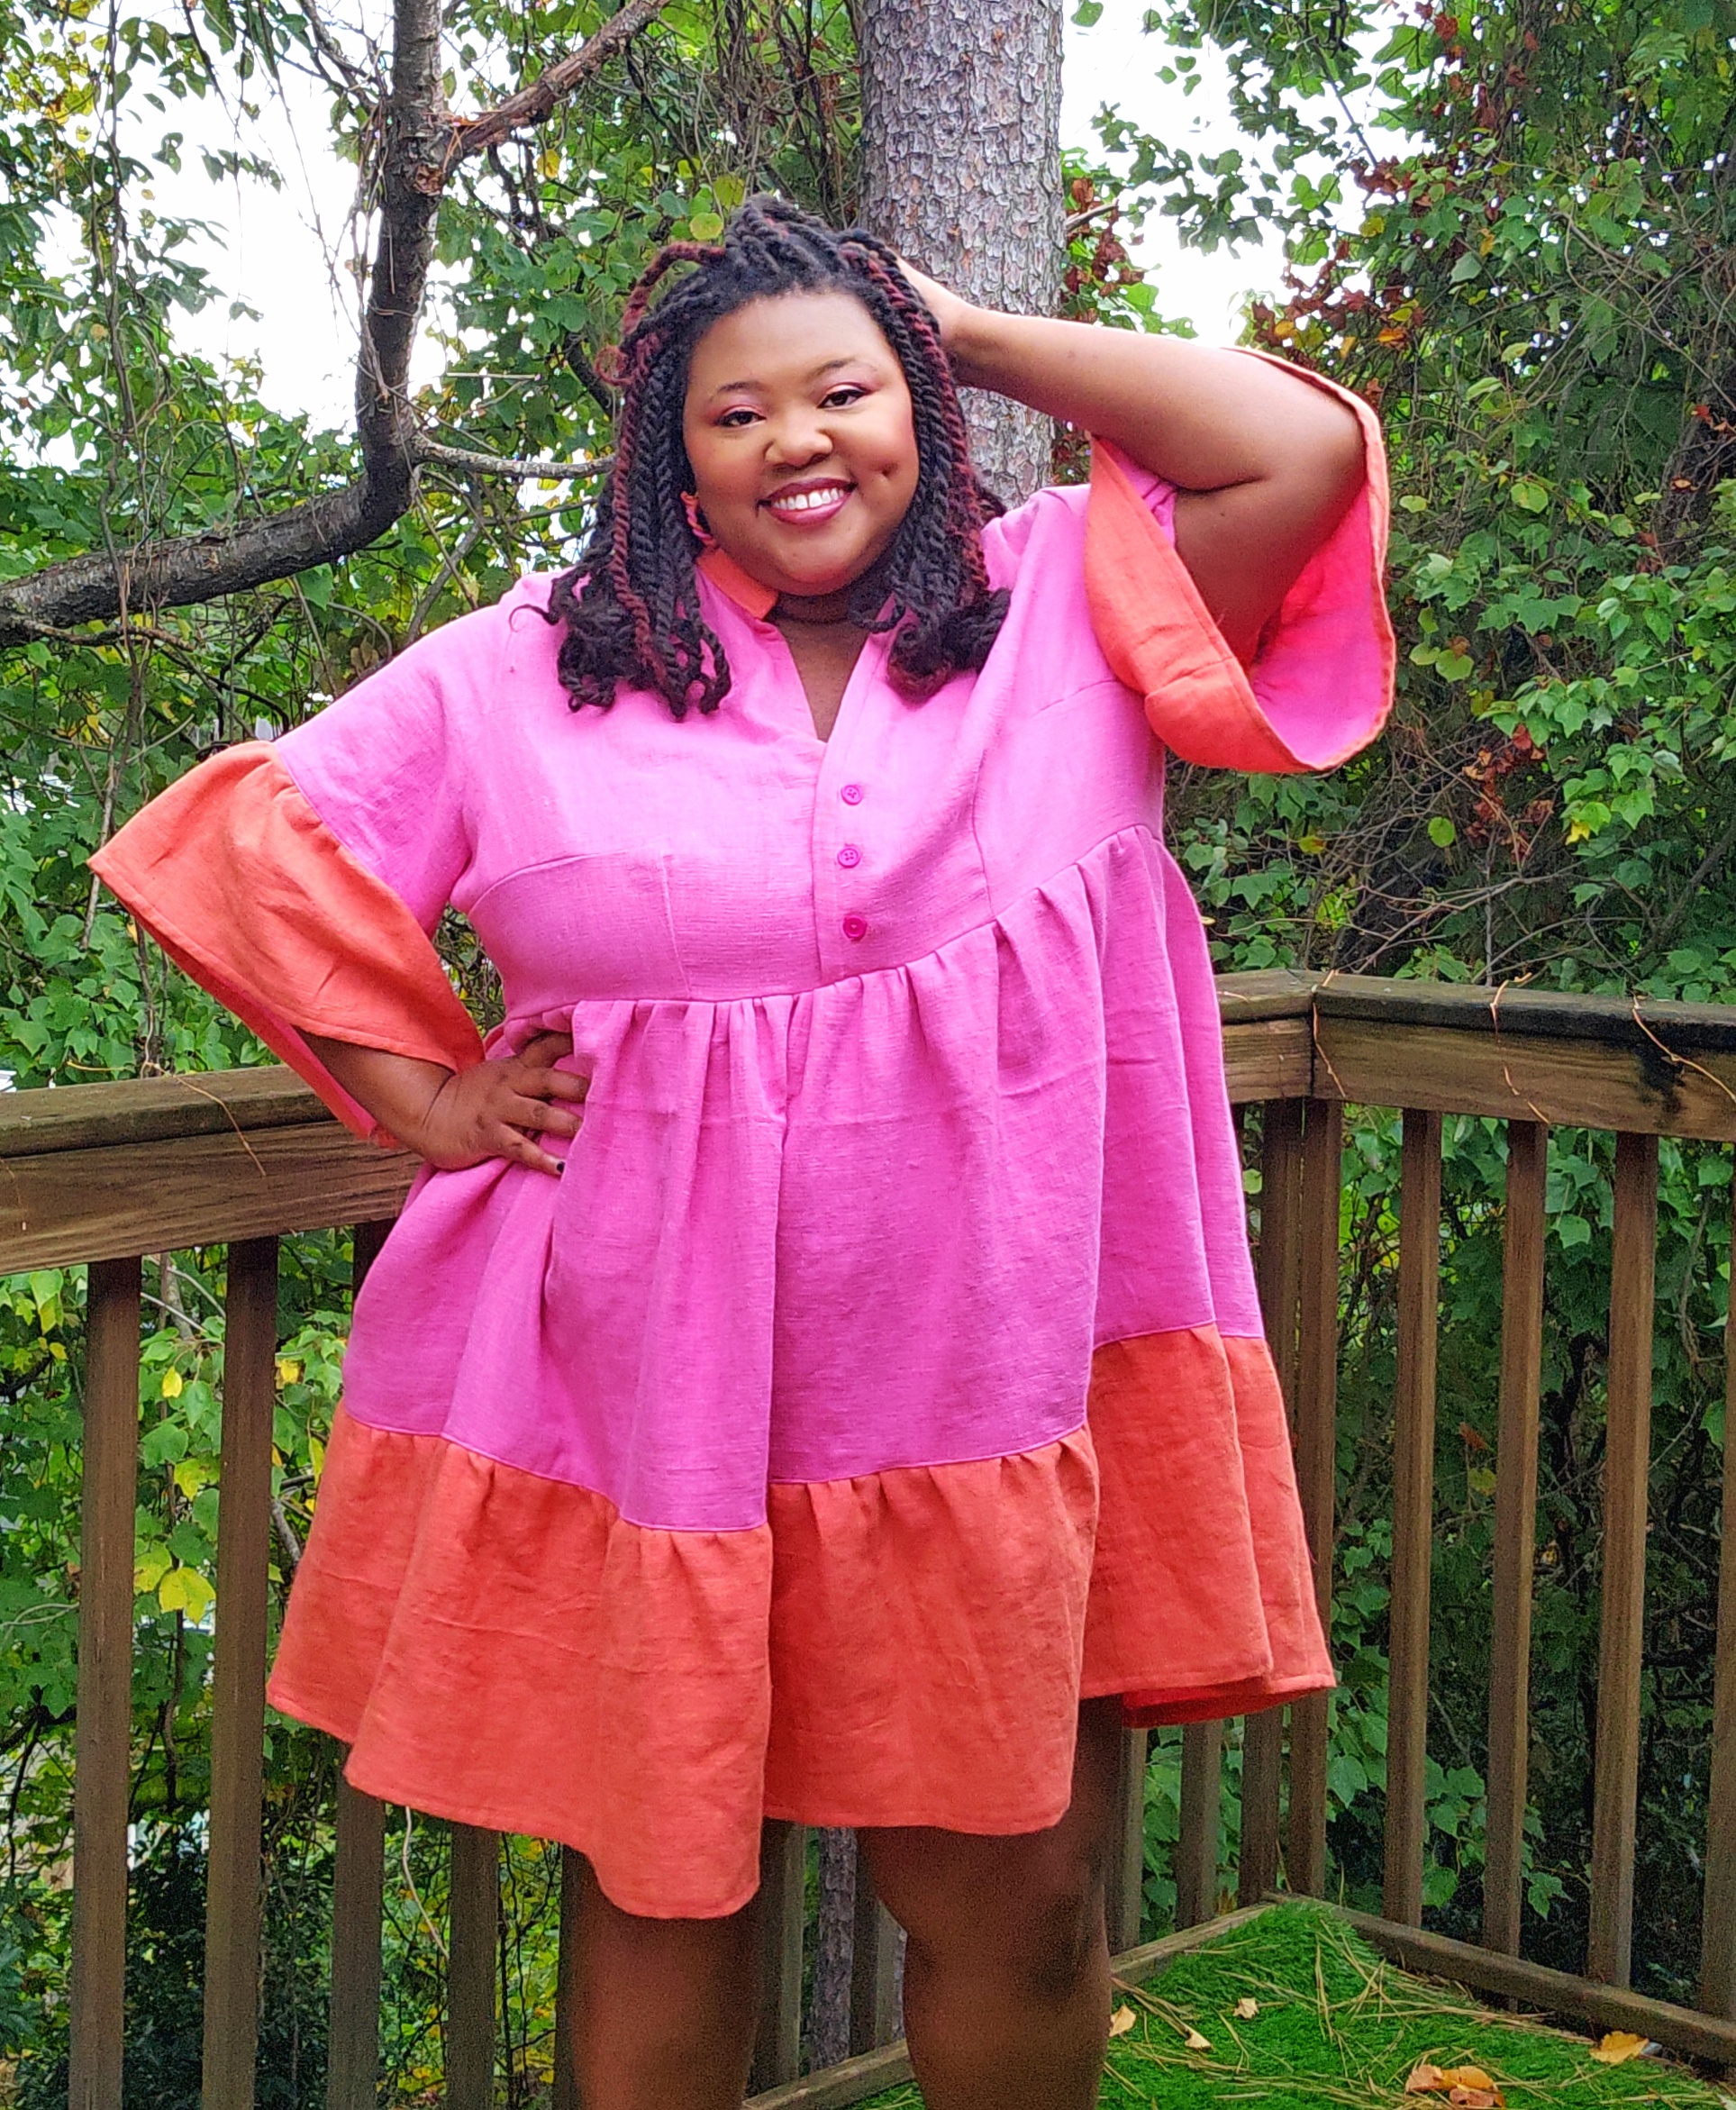
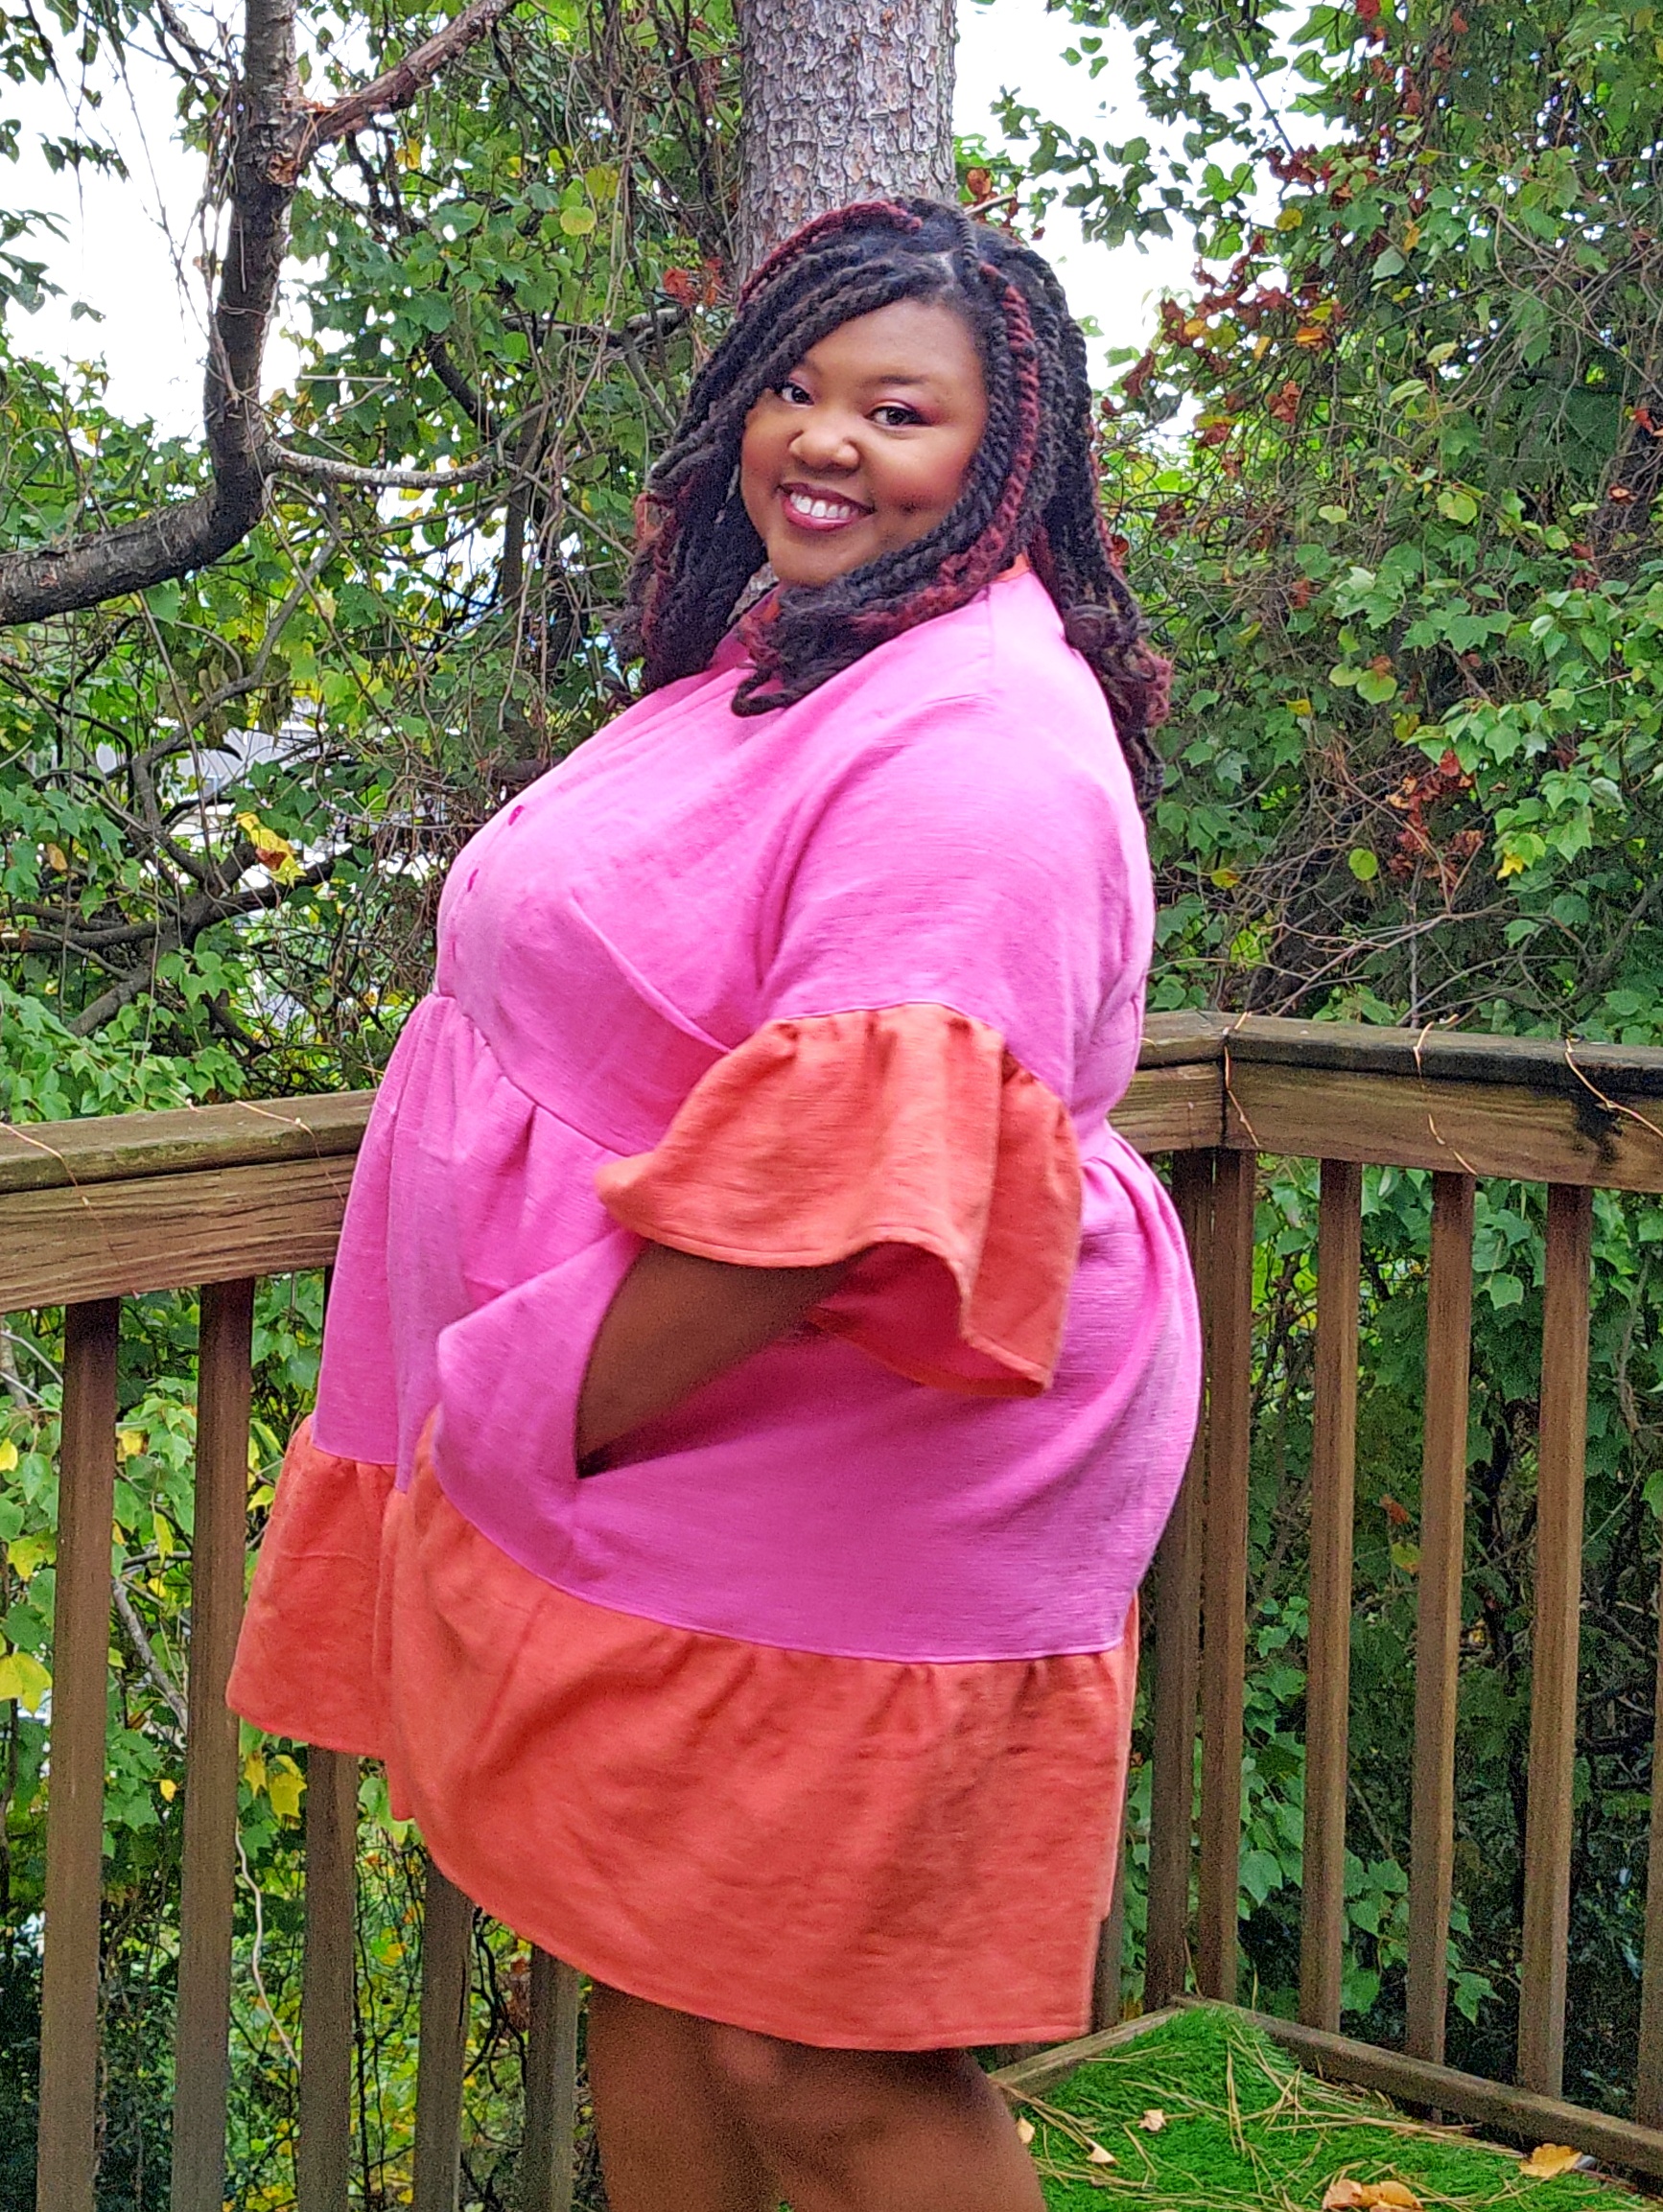
Once I received the pattern, I went on the hunt for some linen that I could quickly get my hands on. Since the death of my beloved Fabric.com in GA, finding high quality apparel nearby has been a struggle. The fabric selection of my local Joann is pretty hit or miss, so I rely on online stores. My go-to stores are all located outside of the US so after searching around for a while, I found this gorgeous and light two-tone reversible fabric from Cali Fabrics. I’ve ordered fabric from them several times and it always arrives quickly even though I am on the other side of the country. They have so many different options for reversible linen but ultimately, I decided on this lovely hot pink and orange fabric. To me it kind of looks like a sunset, and I thought that would be easily translated into the Myosotis dress. I chose to make version A – the version with the sleeve and skirt ruffles. I knew that those pieces would be perfect for color blocking.
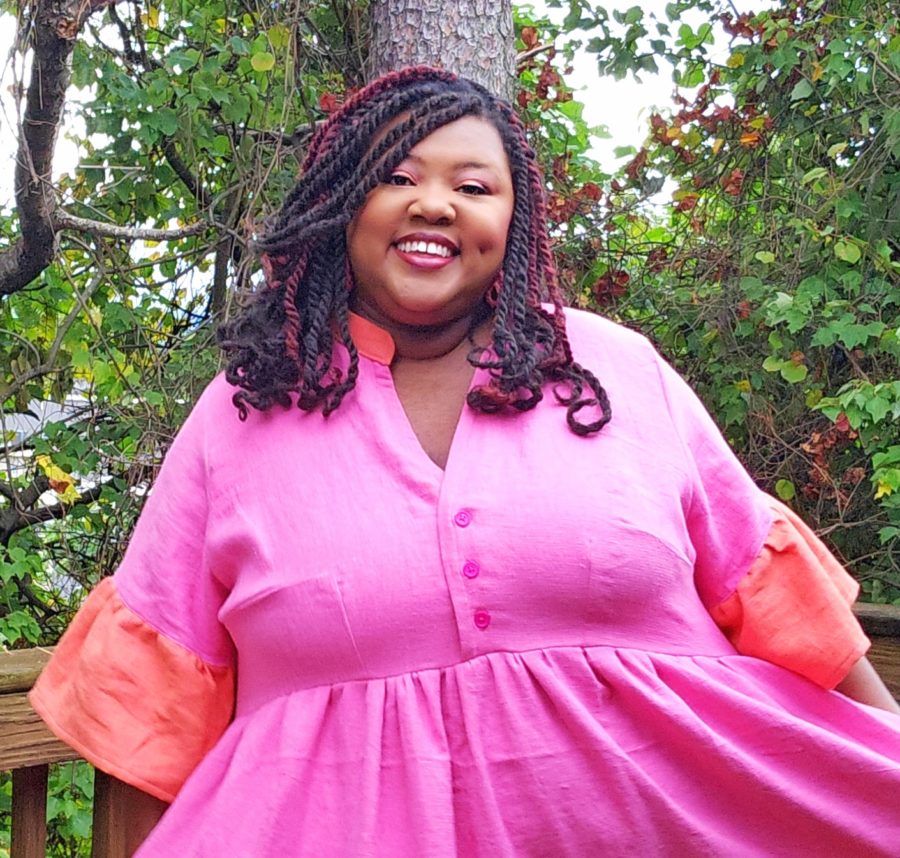
One tip I have is to make sure you read all the instructions fully. I quickly scanned over the instructions so that I can have a general idea but missed the very first step that you should finish the front facing seam allowance after you interface it. I didn’t realize my mistake until I had already sewn the facing onto the bodice and couldn’t figure out why the pattern had an unfinished edge showing. Once I realized my mistake, it was very easily fixable. I just hit that unfinished edge with my serger and you can’t tell the difference. The only sewing snafu I had was when sewing on the collar. The instructions say to leave a 5/8 of an inch gap on each side of the collar to make it easy to insert the neckline into the collar. For me, it just made the collar insertion harder. Next time, I’m just going to completely sew my collar before inserting the neckline.
The bodice of my Myosotis ends right below my bust, giving this dress more of a baby doll look than what the pattern pictures show. I probably could fix that by doing an FBA, but I think the next time I will just extend the bodice by an inch or two so that it hits more at my natural waist. I think extending the darts would help bring in the bodice in a bit more as well and give it less of a baby doll shape. I still love it though and I received so many compliments the first time I wore it out. OH! I gotta talk about the pockets! You gotta love a dress with pockets, and these inseam pockets are large and easy to sew. I look forward to playing around with the dress pattern more and to make version B without the ruffles. I think this will be really cute in a silky fabric, maybe even lengthening the skirt to the floor.